
How to break in hiking boots without wrecking your feet
The break-in method I use on every test boot, how long it really takes by boot type, and the shortcut myths that damage boots and feet.

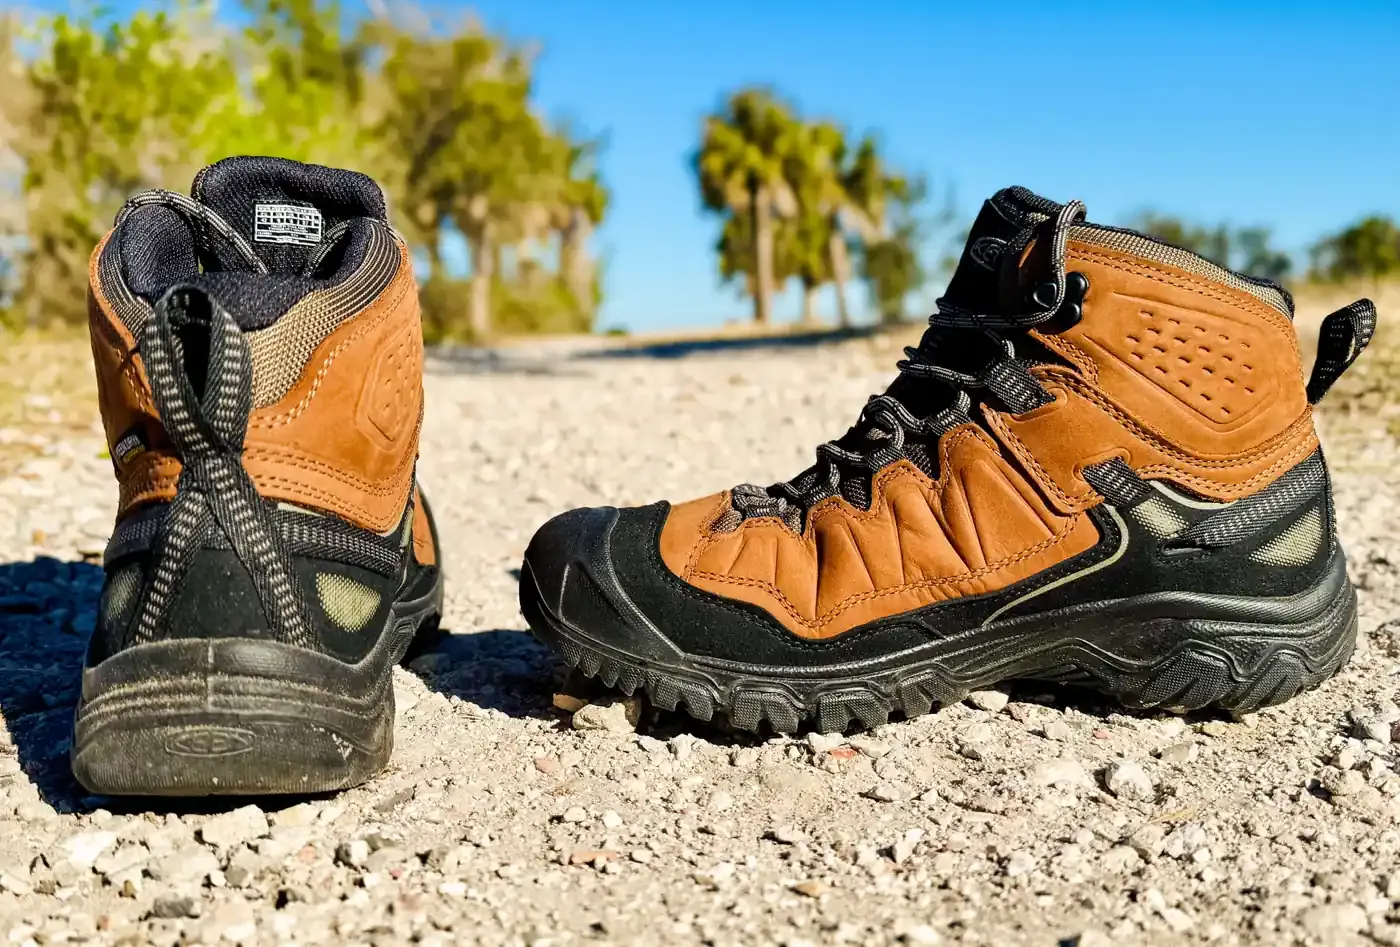
Breaking in hiking boots has more folklore attached to it than almost any other gear topic I've talked about.
Soak them in the bath, wear them in the shower, blast them with a hairdryer; I've read it all, and most of it ranges from pointless to actively damaging your boots.
Here's the process I actually use on every boot I test, how long it genuinely takes for different boot types, and the one situation where no amount of breaking in will save your feet.
How long breaking in boots really takes
Modern synthetic boots built on trail running shoe DNA need almost none.
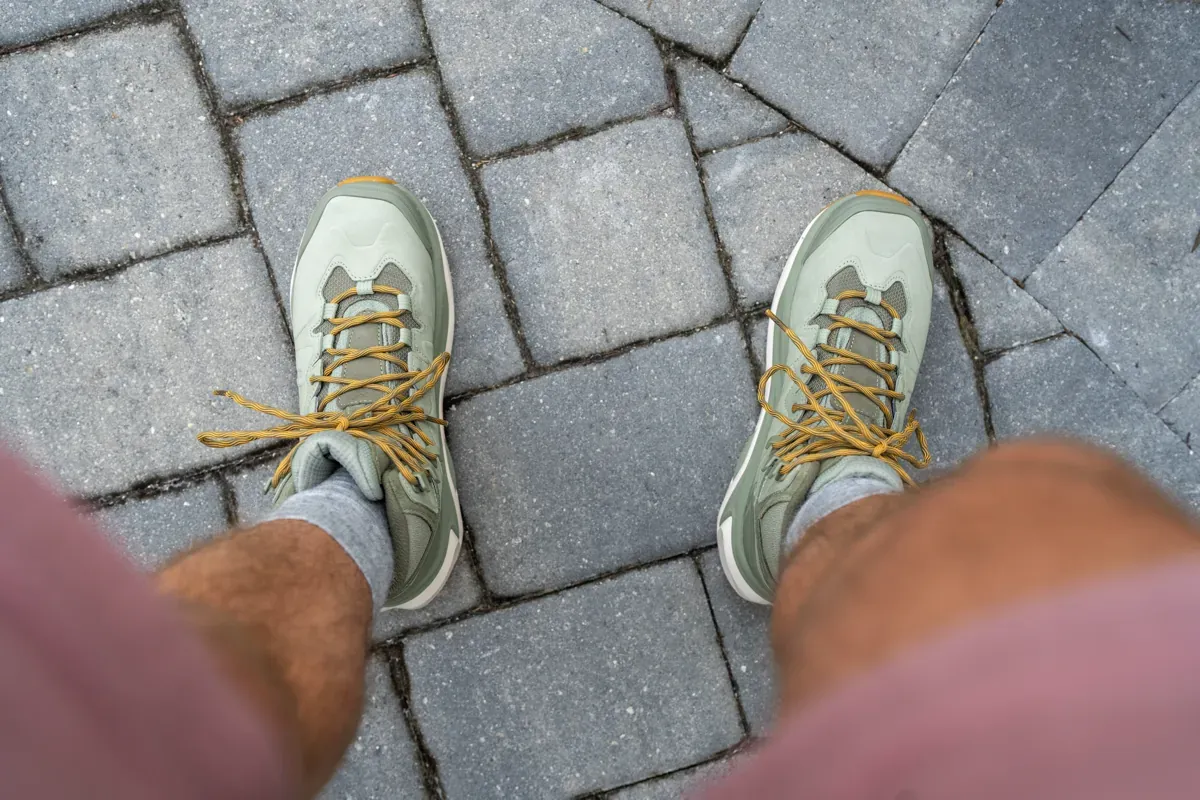
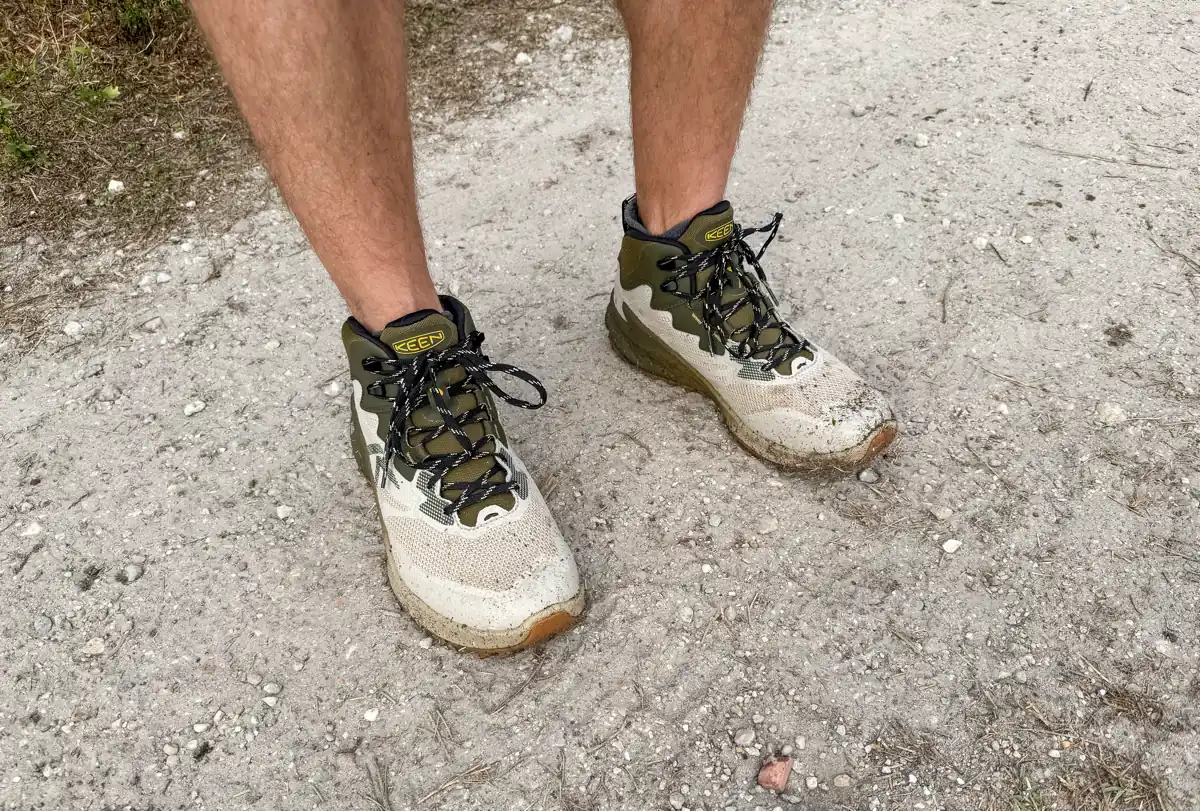
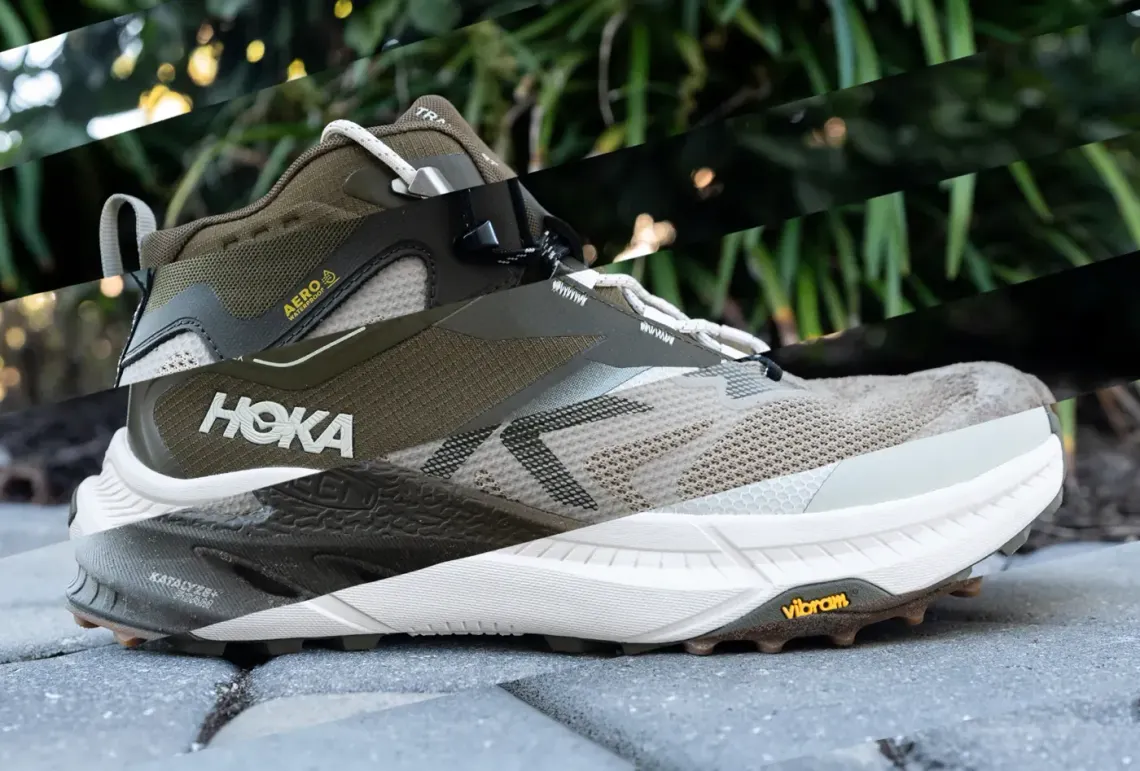
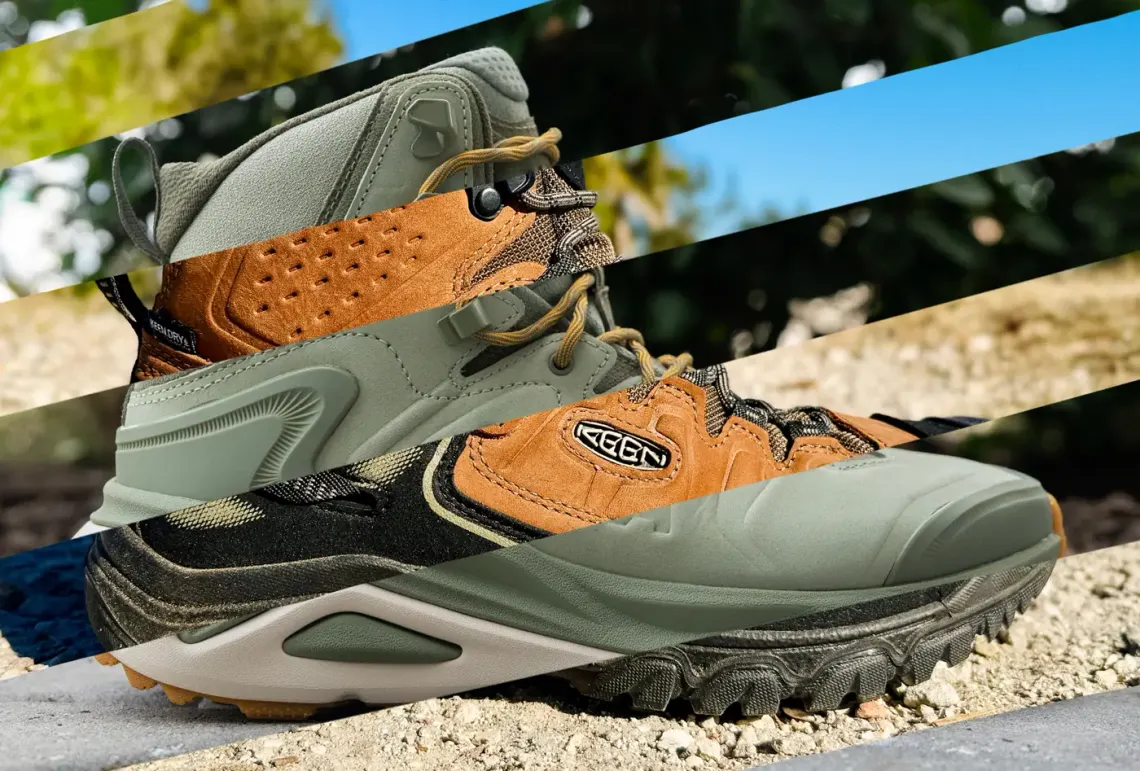
Kaha 3 GTX (left), Zionic NXT (right)
When I tested the Hoka Kaha 3 GTX, it was comfortable from the first wear, and the Keen Zionic NXT is much the same. Expect 0 to 20 easy miles.
Structured synthetic boots with plates or substantial overlays need a real but manageable period. My Merrell Moab Speed 2 GTX pair felt stiff and a bit clompy for the first 20 to 30 miles, then softened into one of the most trustworthy, comfortable hikers I own. That's typical for this class.

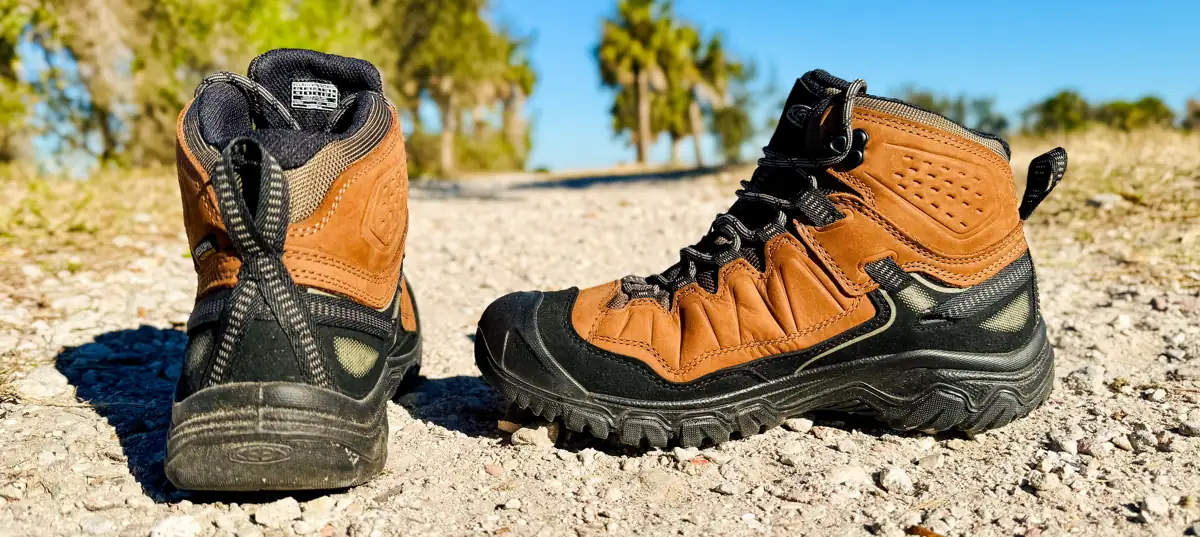
Leather boots take the longest. A boot like the Keen Targhee IV Mid rewards patience: the leather needs time to soften and conform, so budget 20 to 50 miles of progressive wear before a big day.
Step 1: make sure the fit is right before you break anything in
This is the step that saves feet, and and painful miles. Break-in softens materials and forms flex points. It does not fix a boot that's the wrong size or the wrong shape for your feet.
Check for a thumb's width in front of your longest toe, a heel that stays planted when you walk uphill, a locked-in midfoot, and no pressure points across the widest part of your foot on day one.
Stiffness fades but a bad last never does, and if it hurts in ways that feel structural, return the boots.
Step 2: start at home, in the socks you'll hike in
Wear the boots around the house for a few evenings, fully laced, with your actual hiking socks. Thin casual socks tell you nothing about how your hiking boots will perform on the trails.
This stage does two jobs: the footbed starts compressing to your foot shape, and you get a return-window-safe read on fit before the boots ever touch dirt.
Step 3: walk, then hike, then load up
Progress in stages rather than jumping into a big hike. Try a few neighborhood walks first.
Then progress to short local trail outings of an hour or so; and finally try a proper hike with a light daypack, and only after that a full day with real weight.
The reason for the sequence is that load changes how a boot flexes and supports your foot. A boot that feels fine unloaded can create new pressure points with 20 lb on your back, and you want to find that out two miles from home, not ten.
Step 4: deal with hot spots immediately
The moment you feel a hot spot, stop and fix it. Re-tension your laces, smooth your sock, and tape the spot before it becomes a blister. A minute of admin saves a week of limping.
Lacing is your main tool here; a heel-lock lacing pattern through the top eyelets cures most heel slip, and skipping an eyelet over a pressure point across the instep relieves it without losing overall hold.
Step 5: skip the shortcut myths
Don't soak leather boots to speed things up. Waterlogging degrades leather and adhesives, distorts fit, and can wreck waterproof membranes.
Don't apply direct heat either, for the same reasons.
The only legitimate break-in accelerant is hike frequency: short, regular wear sessions beat occasional long ones, because materials conform gradually and your skin toughens alongside them.
When it's the boot, not the break-in
If you're past the mileage ranges above and still getting the same pain in the same place, stop blaming the process; it's likely the boot.
Persistent heel lift, toe bang on descents, or pain along the width of your foot means the fit is wrong for your anatomy.
That's not failure, it's information. A different last will fix what patience can't, and my best hiking boots roundup covers which of my tested boots suit wide feet, narrow heels, and everything between.
Best hiking boots 2026: The pairs that stood out in testing
Every hiking boot here has been fully trail-tested. These are my current top picks.
 Alastair Dixon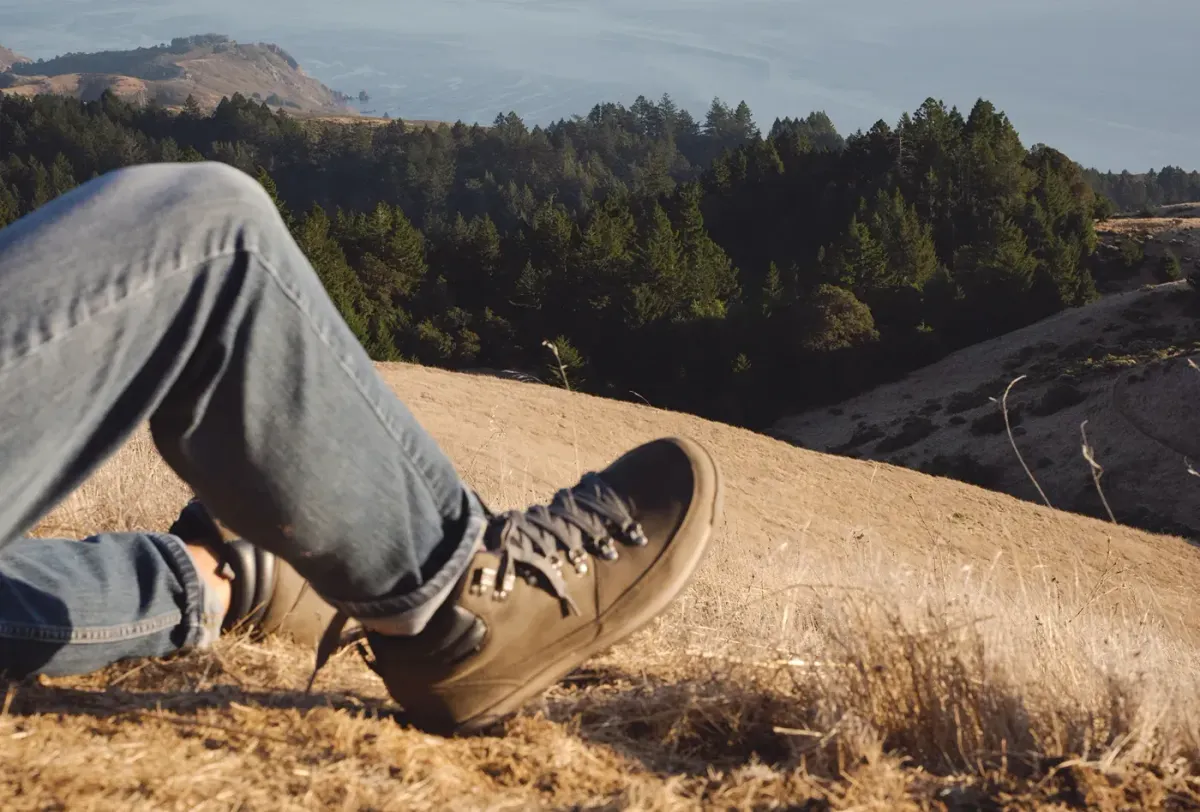
If stiffness itself is what you hate, you may simply be a hiking shoe person; see my best hiking shoes picks, which need essentially no break-in at all.
Best hiking shoes 2026: Tested on the trails and for lifestyle use
Every hiking shoe here is thoroughly trail-tested. All my top low-cut picks, waterproof and breathable, with honest caveats.
 Alastair Dixon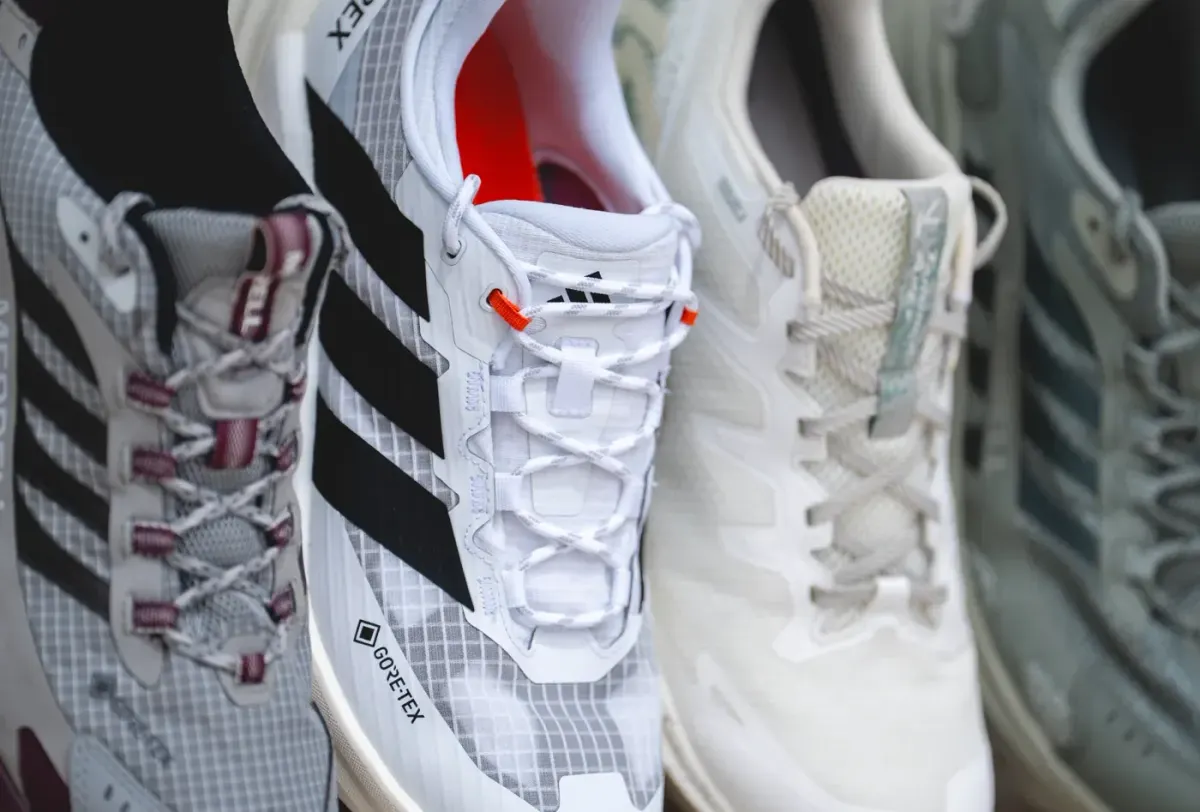
Final words of wisdom
Size right first, make sure you have a boot that fits your foot shape, start indoors, progress gradually, fix hot spots the moment they appear, and never force it with water or heat.
Modern boots need far less breaking in than the old advice suggests, and if a boot still hurts after honest miles, the answer is a different boot, not more suffering.
Breaking in boots pairs naturally with breaking in your legs: my free hiking training plan generator builds both into the same progressive schedule.
Hiking Training Plan: Build Yours Free With Our Generator
Build your personal week-by-week hiking training schedule using the generator below; then read on for the strength work, cardio, and specifics that make it stick.
 Alastair Dixon
If you haven't already, signup to our free newsletter, for more quality outdoor content like this. -Alastair
Written by

Subscribe to new posts
Gear that earns its place, outdoors and at home | Reviews, Roundups, News






Member discussion