Bird Watching for Beginners – Easy Guide to Start Birding Locally
This guide shows you how to start birding locally. Discover beginner gear, simple identification tips, a first-week plan, and mindful ways to enjoy nature right outside your door.

Welcome to another Trail & Kale 'Get Outside' Guide, designed to get you and your family outside, exploring the world around you, through intentional movement and focused observation.
Birding (birdwatching) is one of the easiest ways to feel more connected to the outdoors without needing a plan, a destination, or a big time commitment.
You can start in your backyard, on a dog walk, or in a local park, and still come away feeling like you noticed something that has been hidden for so long.
It’s also a hobby that rewards consistency more than intensity. Ten minutes, often, beats one big day once a month.
If you purchase through links in this article, we may earn a small affiliate commission. For exclusive content, our newsletter, and more perks, become a member, it's free! -The Trail & Kale team ✌🏼
In this article 🐦
- How to start bird watching locally (without overthinking it)
- Essential beginner gear for bird watching (with tiny explainers)
- How to identify birds without getting overwhelmed
- Where to go birding, when to go, and what to do once you’re there
- A first-week plan + two quick checklists
Why start birding?
Birding works because it pulls you into observation mode.
You slow down, your senses switch on, and you start noticing small details you’d normally miss, like movement in a hedge, a silhouette on a branch, a call you’ve heard a hundred times but never really heard.
It’s also quietly practical because it gets you and your family outside, adds a bit of movement to your day, and makes familiar places feel richer without needing special access or expensive kit.
For beginners, local bird watching spots like neighborhood trails or quick park loops turn everyday walks into something more intentional.
Essential gear for beginners
You can bird with nothing but your eyes and ears. Gear just helps you see more and learn faster.
Binoculars (most useful tool)
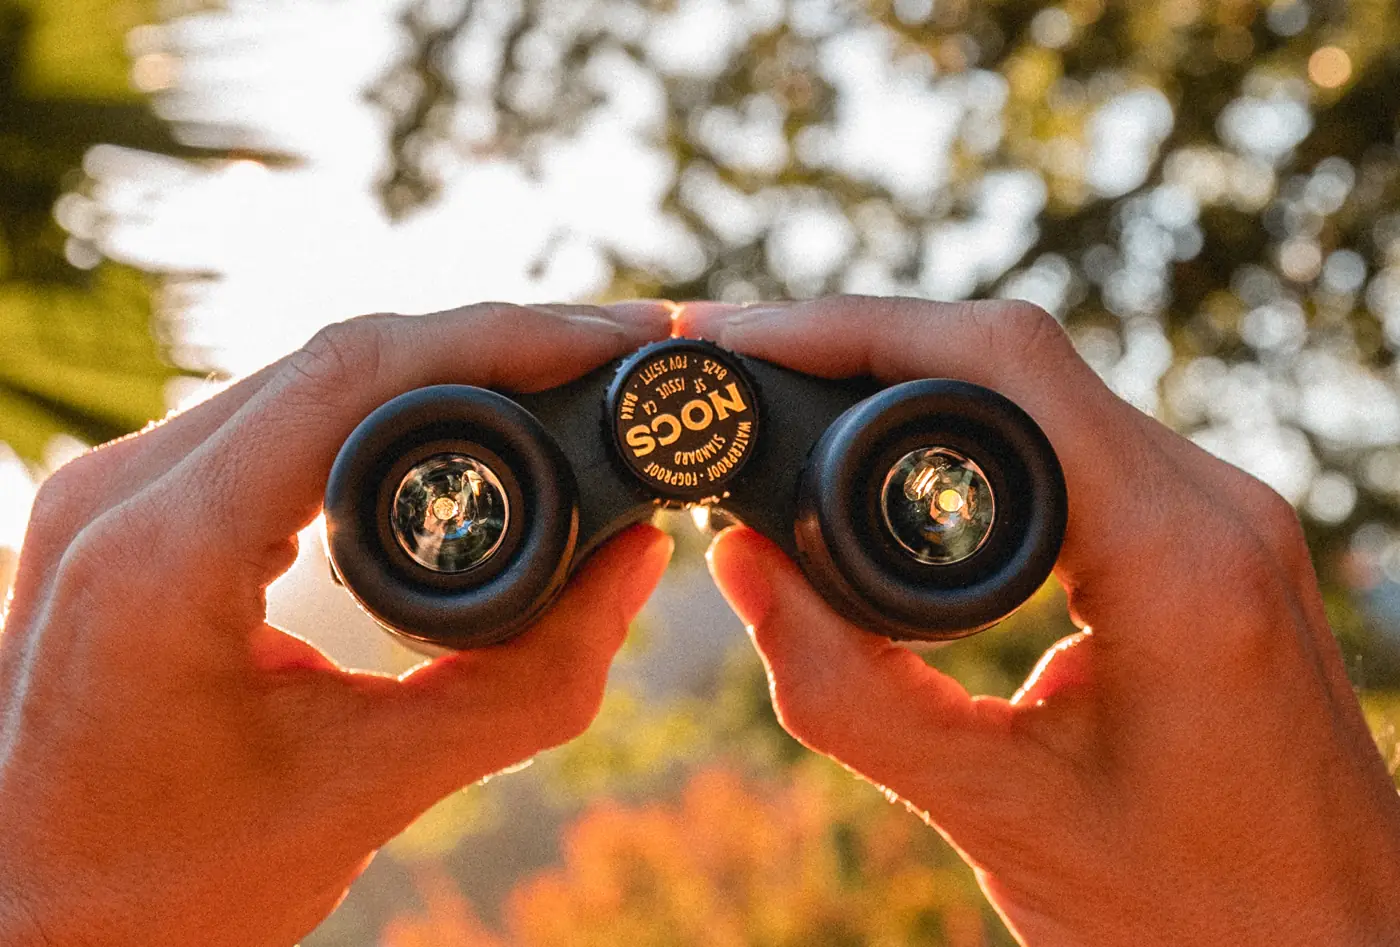
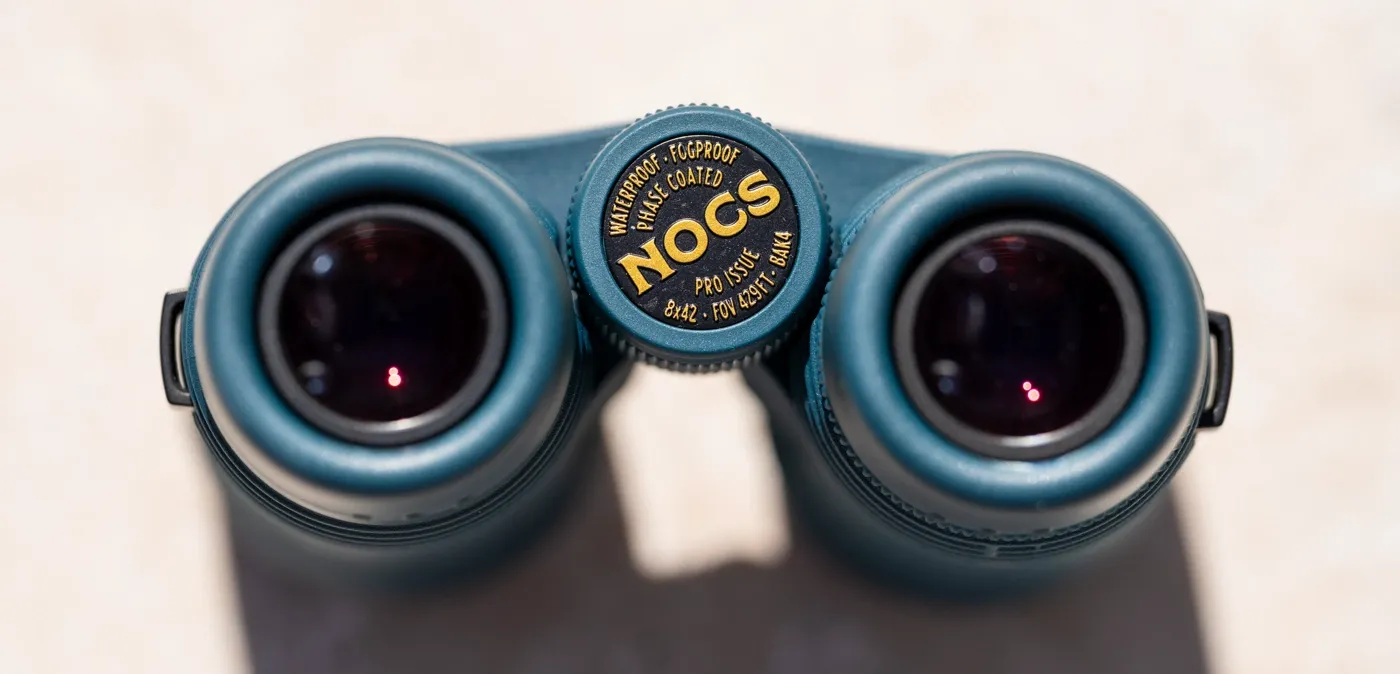
Standard Issue (left), Pro Issue (right)
- 8×42 is a great starting point for beginner binoculars for bird watching. Quick explainer on the numbers: 8x = magnification / 42 = lens size (brighter, heavier). If you're not sure which ones to go for, at $299.95 the NOCS Pro Issue (Nocs Pro Issue 8x42 review) offer excellent optics for the money.
- Typical beginner budget: $100–$300
- Lighter, and cheaper alternative: 8×25 NOCS Standard Issue ($99.95) [Nocs Standard Issue review] - these are very versatile and pack light for hiking with). For a premium compact binoculars upgrade, I recommend considering the Maven B.3 binoculars - the visual clarity on them is stunning.
Best Compact Binoculars 2026: Hands-On Picks for Hiking & Birding
The best compact binoculars of 2026, tested for hiking, birding, and travel. Honest picks across budgets, with our editor’s premium and value choices.
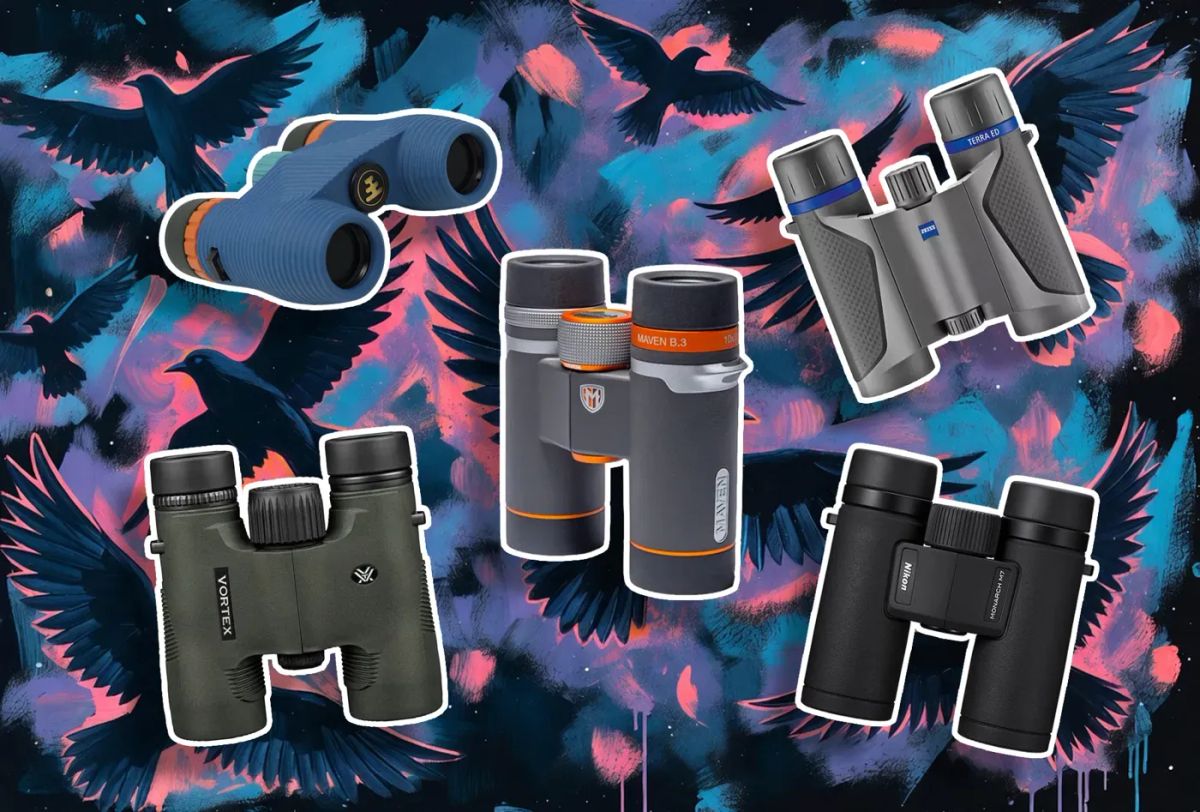
For specific picks, our best compact binoculars roundup covers the full range.
ID help: app or field guide
- Merlin Bird ID: IDs birds with prompts + location + sound. I'm using this app all the time.
- eBird: helps you log sightings and see what’s common nearby.
- Audubon Magazine: A great way to further your bird watching skillset.
- eBird Hotspots feature = a reliable birding location people log often.
Basics
Comfortable shoes, weather layers, water, and phone notes / a small notebook.
Make it local (this is the secret sauce)
Birding gets enjoyable much faster when you stop trying to learn “birds” and start learning your birds.
Set your location in the Merlin app and download your regional pack so the suggestions match what’s around you.
Then use eBird to check what’s common in your area right now and where people are reporting sightings. Pick one close spot and revisit it a few times, repetition is where the progress comes from.
A smart beginner move is to intentionally learn the everyday birds first. Once the regulars feel familiar, anything unusual will begin to stand out immediately.
Stargazing for Beginners Guide
No Telescope required. Learn when, where and how to stargaze, PLUS the best gear & apps for stargazing.

How to identify birds without spiraling
The quickest way to improve isn’t memorizing names, it’s learning how to collect a couple of reliable clues without trying to capture everything at once.
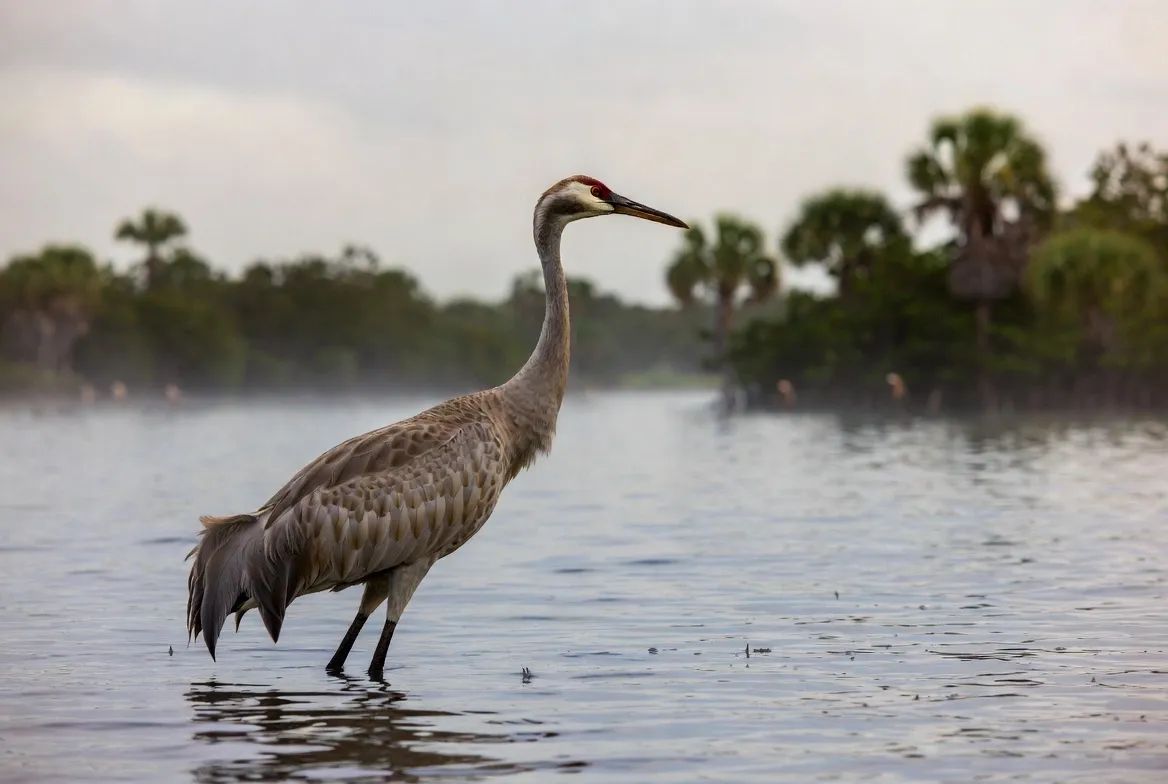
Start with size and shape. “Sparrow-sized” vs “crow-sized” narrows things quickly, and shape adds more: long legs, long neck, chunky body, tiny head.
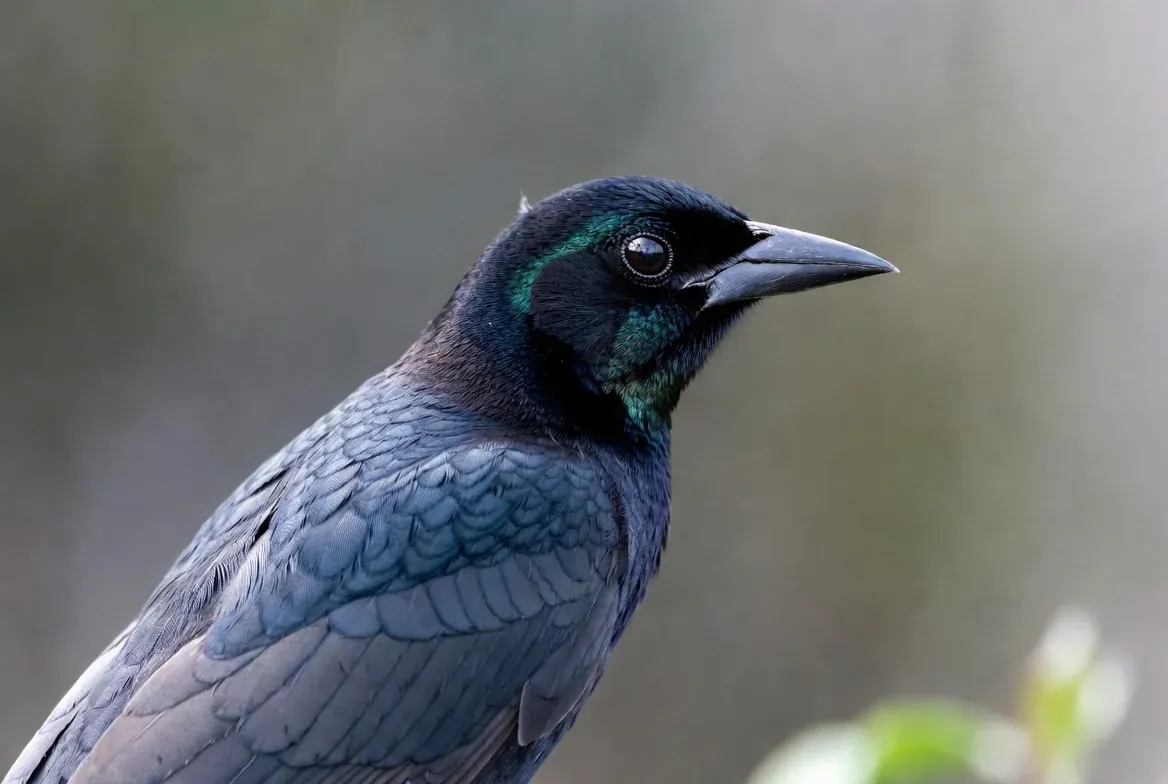
Then look for one anchor marking, not the whole bird, just one standout detail (a bold stripe, a wing bar, an eye ring, a bright patch, a colored head).
After that, behavior does a lot of the work. Is it feeding on the ground, clinging to a trunk, soaring, diving, flicking its tail? Birds have habits, and those habits are often easier to spot than fine details.
Habitat helps too: wetlands, woodland, open field, coastline, urban street—where you are matters.
Sound is the big unlock over time. You don’t have to become a bird-call person overnight, but learning even a few common sounds changes everything.
What's the difference between a call, a song, and a dawn chorus?
- Call = short “contact/alarm” sounds.
- Song = longer patterned sound (often for territory/mates).
- Dawn chorus = peak singing around sunrise.
Where to go birding
Start close. The best place is the one you’ll actually revisit, because remember, it's important to consistently go back to spots you have a higher certainty of specific birds showing up to.
Backyards and neighborhood loops work too. Parks are great, especially if they have a mix of trees and open space.
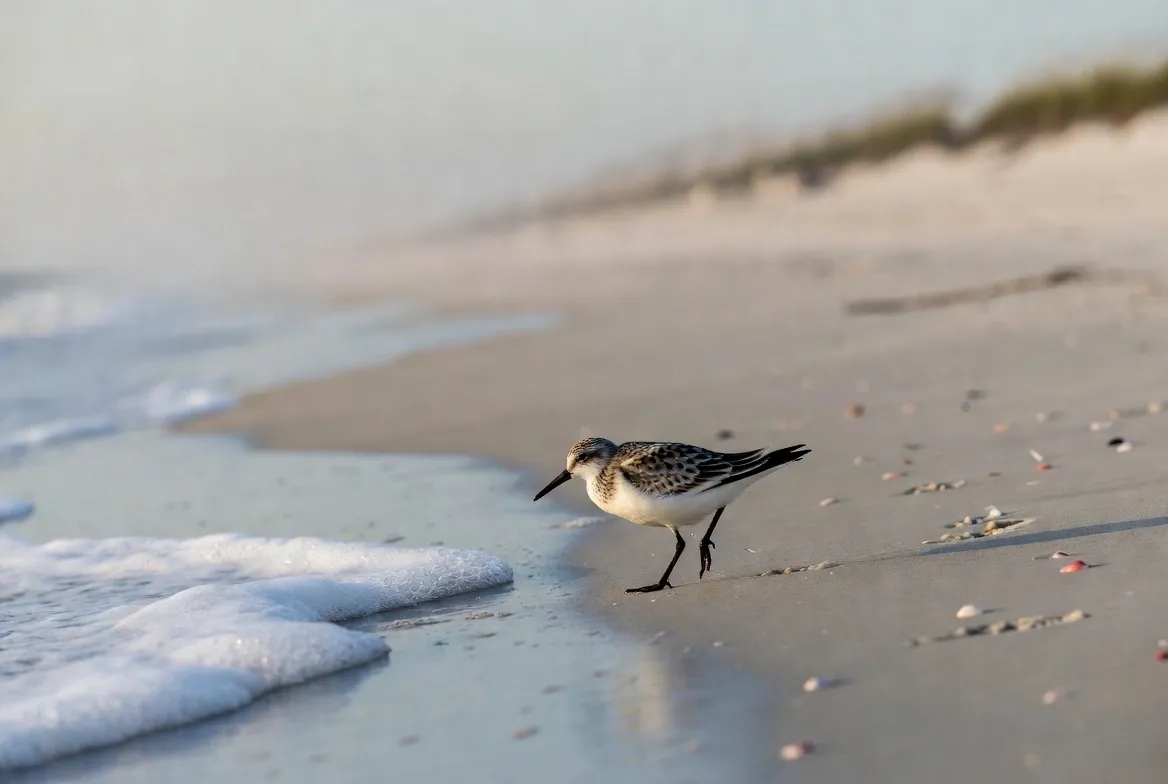
Wetlands and ponds are often the easiest places to see variety quickly. Woodland edges can be surprisingly busy. Beaches and coastal paths can be brilliant if you’re near them and visit early in the morning.
If you want a shortcut: use eBird’s hotspot map and pick a place with recent sightings, then go when you’re most likely to enjoy it.
For places to bird watch, focus on local hotspots, think easy-access trails or ponds that fit into your routine walks.
Best times + field tips
Early morning is usually peak activity, but late afternoon can be great too.
The best “technique” for birding is stopping. Walk a bit, pause, listen, scan, then walk again.
Birds reveal themselves when you’re not moving like a human wrecking ball through their living room. Mild days tend to be easier than windy ones.
And seasons matter; migrant birds show up seasonally, so the same route can feel totally different month to month.
Birding etiquette
Keep your distance, stay on the trails, and don’t stress birds for a better look.
Avoid overusing recorded calls from your phone, especially around nesting season, and be considerate of other people sharing the space. Simple stuff, but it’s what keeps birding enjoyable for everyone.
A first-week plan
- Day 1–2: 10 minutes at home; listen first, then look
- Day 3: local park loop with lots of pausing
- Day 4: visit one hotspot (morning if you can)
- Day 5: learn three common local birds (photo + call)
- Day 6–7: revisit the same spot and notice what’s now familiar
Two quick checklists
Before you go ✅
- Water
- Light layer if the weather’s variable
- Binoculars (if you have them)
- Phone notes / notebook ready
While you’re out ✅
- Stop often (more pausing than walking)
- Collect 2–3 clues per bird (size/shape, one marking, behavior)
- Listen first, then scan
- Keep it relaxed, noticing is the goal
Now you’re ready. Grab a pair of binoculars (or just your eyes), step outside, and let the birds do the rest.
Happy birding! -Alastair
Written by

Subscribe to new posts
Gear that earns its place, outdoors and at home | Reviews, Roundups, News


Member discussion