DIY Sprinter Van Build PART 4: Installing Wood Paneling in our Sprinter Van - Plus, Flooring and our Off-Grid Electrical System
How we installed wood paneling in our DIY Sprinter van build, including how to attach tongue-and-groove planks straight to look awesome and reduce squeaking.

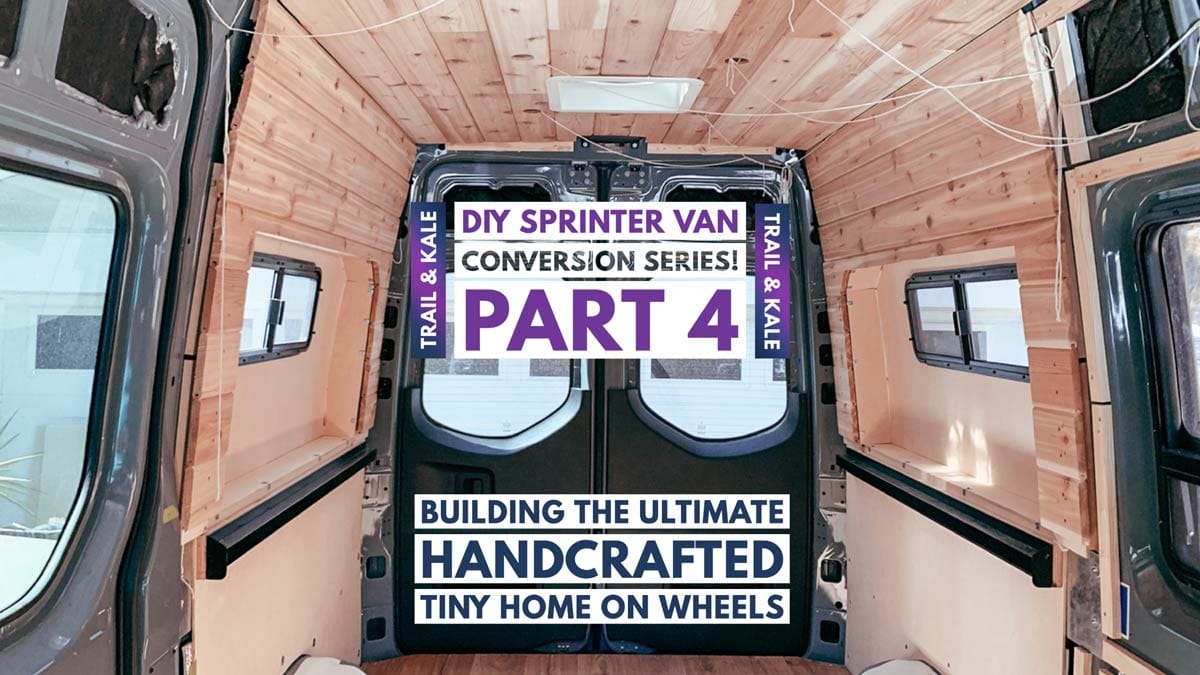
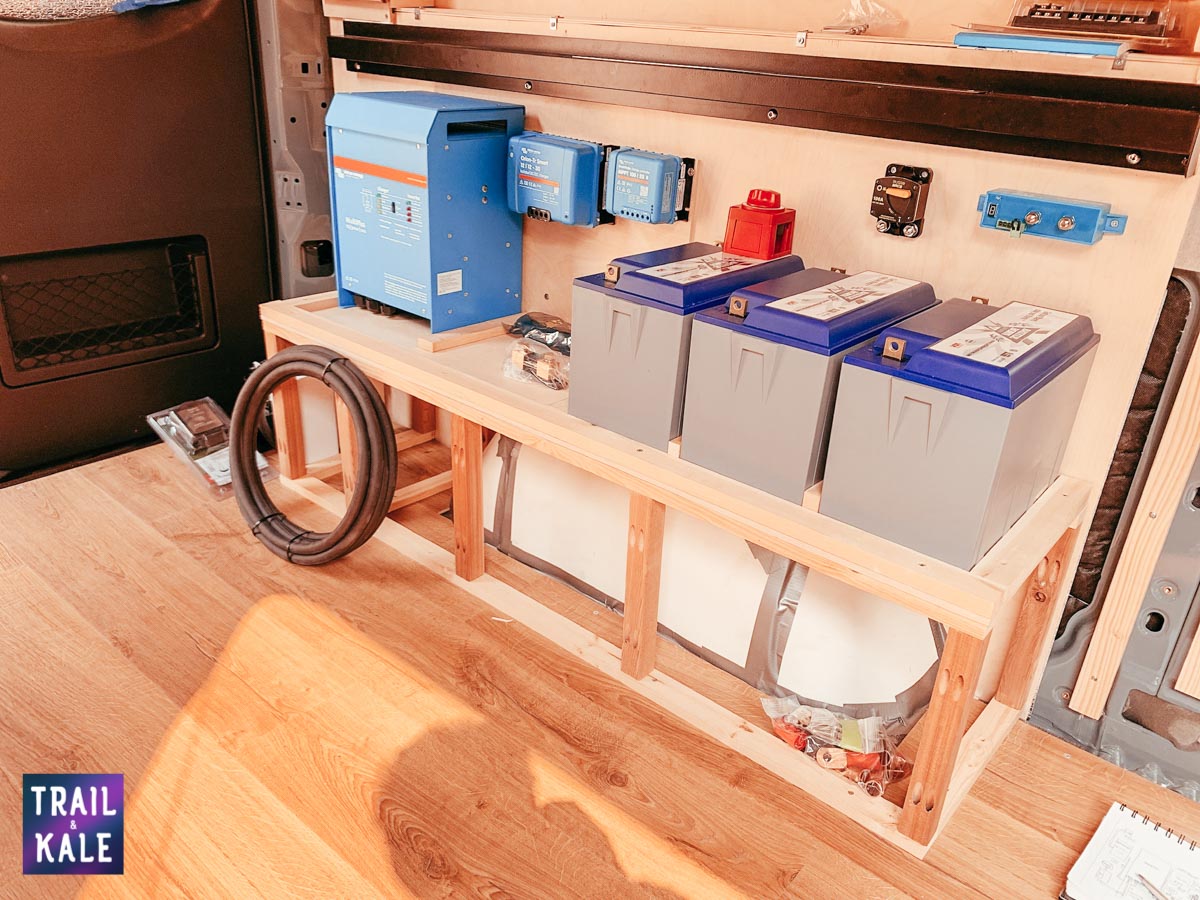
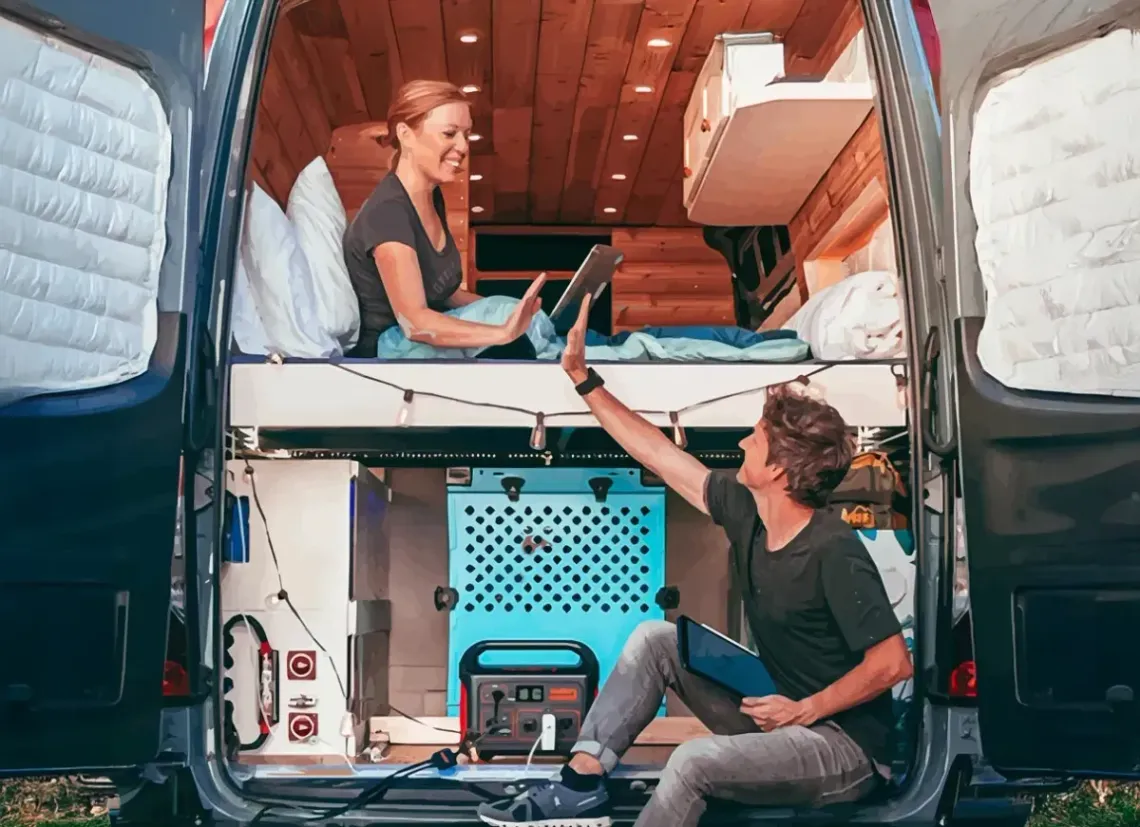
In this update on our off-grid tiny home Sprinter Van conversion, we share how we went about installing wood paneling in our Sprinter van - including baltic birch plywood, cedar tongue-and-groove on the walls and ceiling, and wood laminate on the floor of our van. This luxury DIY Sprinter van build update also includes a preview of our van's off-grid electrical system, which includes 3x lithium batteries, shore power, alternator charging and solar panels.
All of our Sprinter van build updates are being shared on our YouTube channel, where you can find our van build playlist with the videos in chronological order - subscribe to the channel to ensure you don't miss future van build and van life updates!
Once our van build is complete we'll also be publishing videos explaining the techniques, gear and parts used for different aspects of our Sprinter's conversion from a cargo van to a luxury tiny home on wheels, including what we did, how we did it and where key products came from, which will hopefully be really helpful for you if you're also planning to convert a van - as some of those products were very hard to get hold of!
You can
visit our YouTube channel hereand read on below the video on this page to see some more photos of our van build and the part 4 van build update video covering our tongue-and-groove walls, wood laminate flooring and off-grid electrical system.
Installing wood paneling in our DIY van build
How we installed wood paneling in our Sprinter Van
Before we installed tongue-and-groove on the walls and ceiling, we planned the order in which we were going to install the wood planks. I've listed below some of the key areas to think about when planning to install tongue-and-groove wood paneling in a van, as well as some photos (click here to jump down to the image gallery with more pictures).
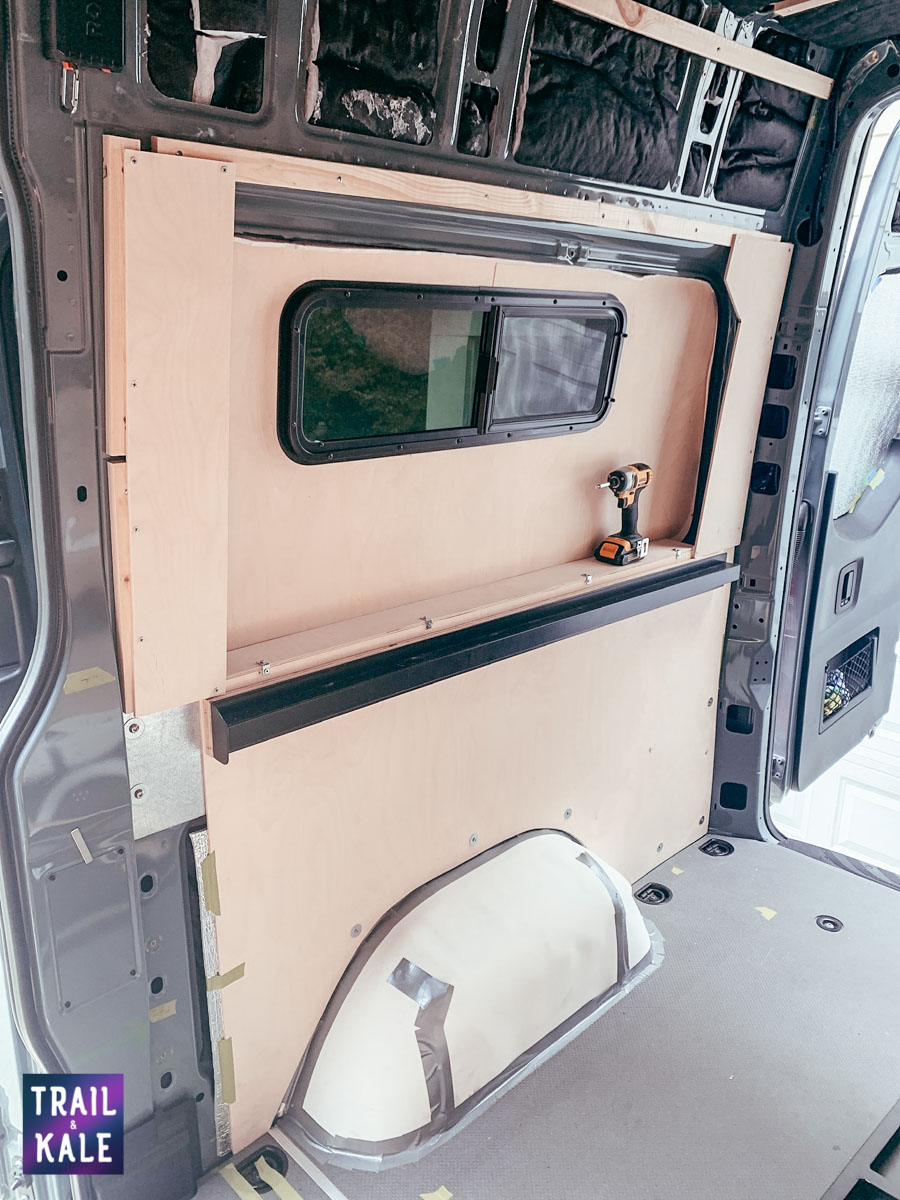
How best to cut and shape the planks around our flares

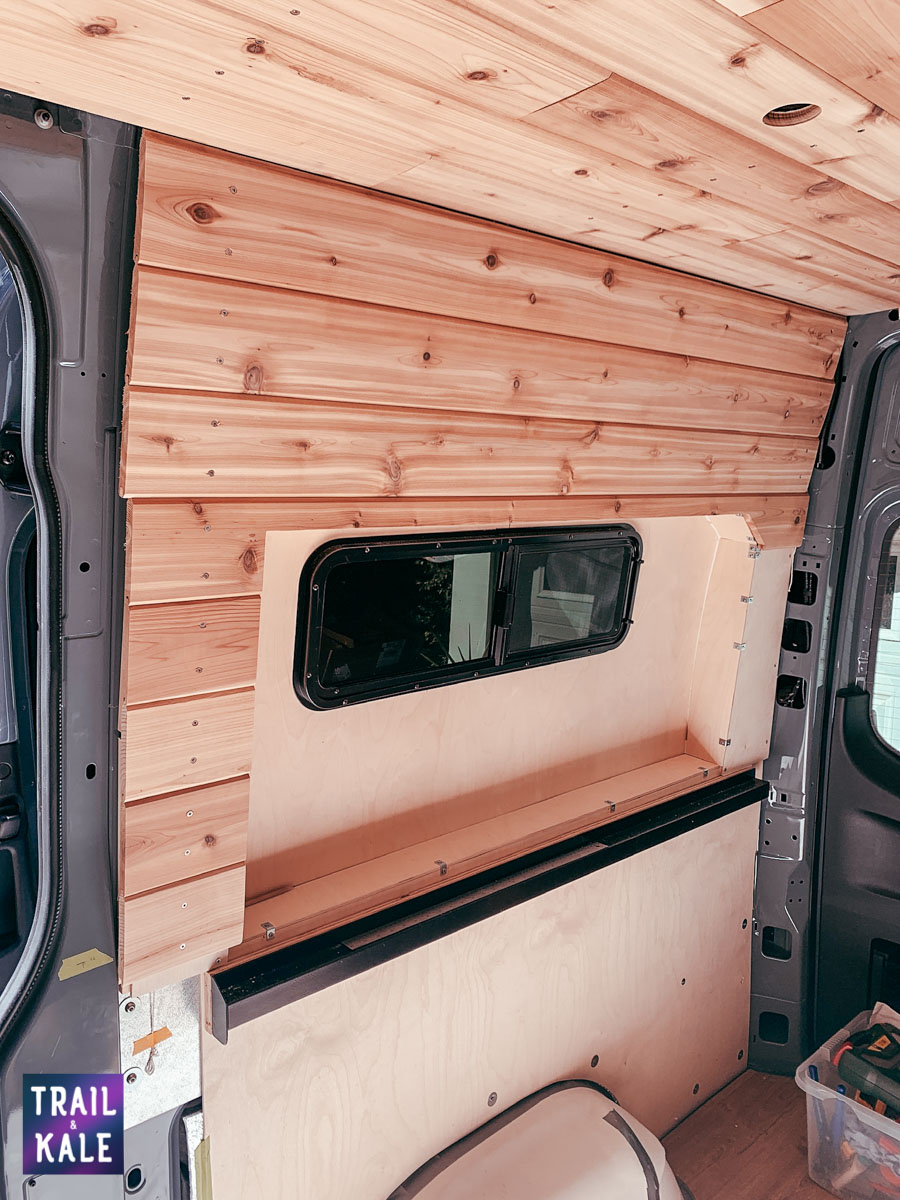
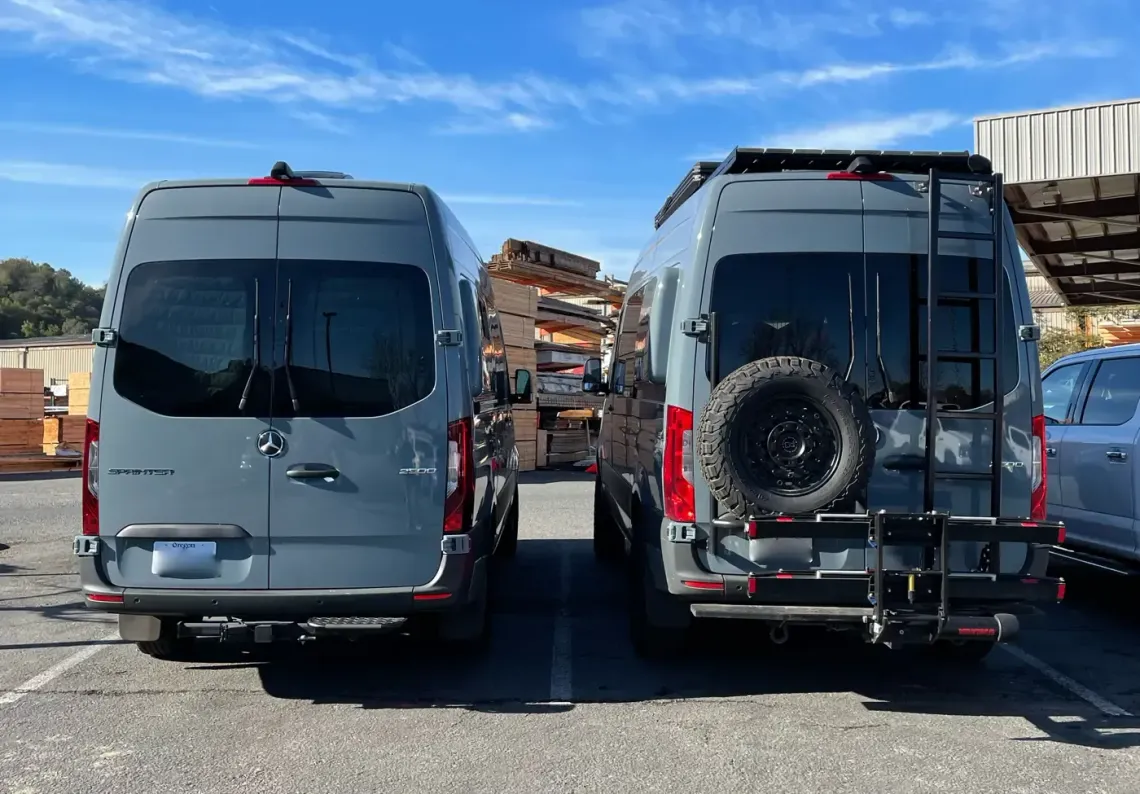
As we have Flarespace flares in our 144 Sprinter van (to allow us to sleep sideways in our van), we had some planning to do to ensure we could install the wood planks on our walls around the flare cutouts. We connected several planks together to see how they fitted (as not all planks fit easily with each other due to variations in how they've been milled). We then marked where we would need to cut the planks to length, as well as any where we needed to make them narrower to maximize access to our flare areas.
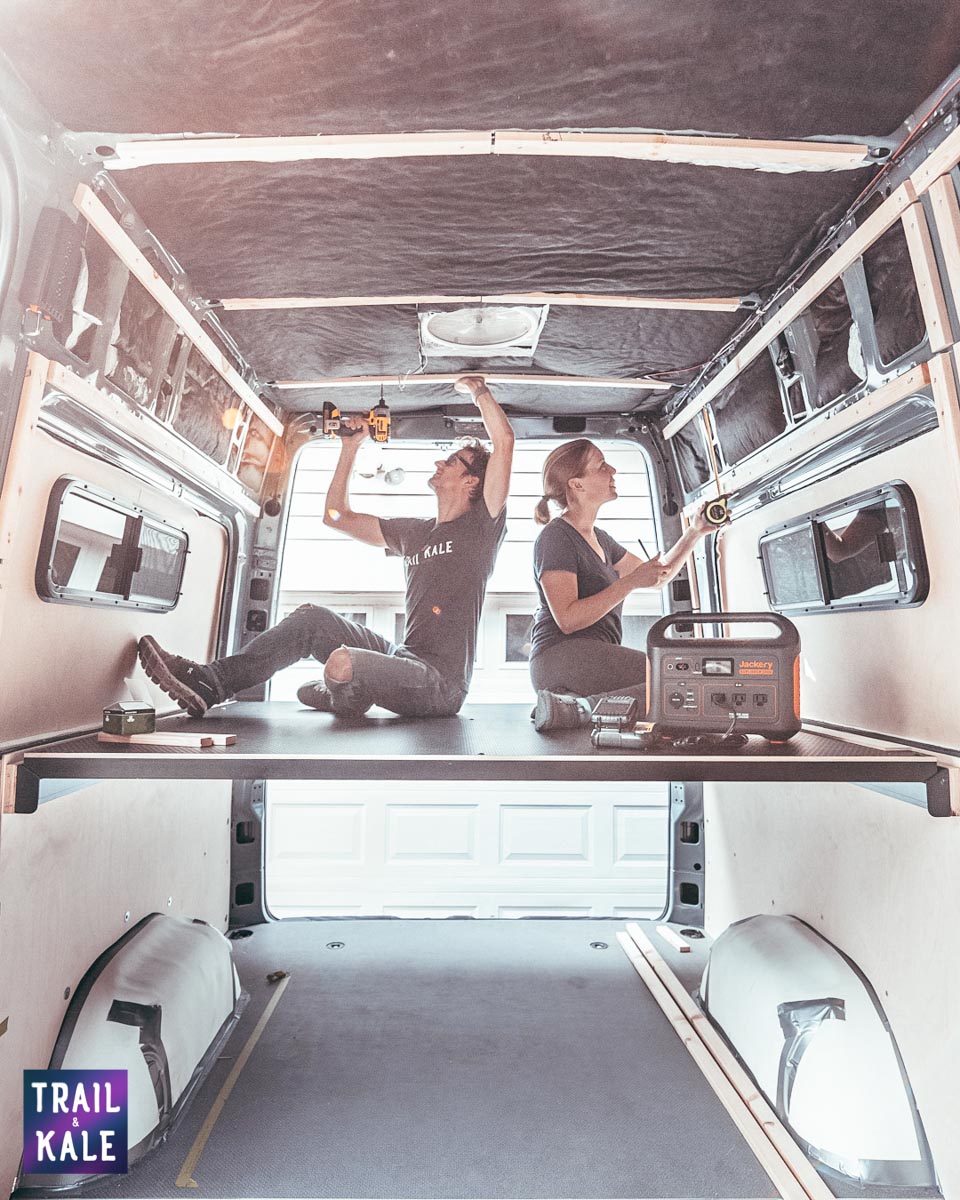
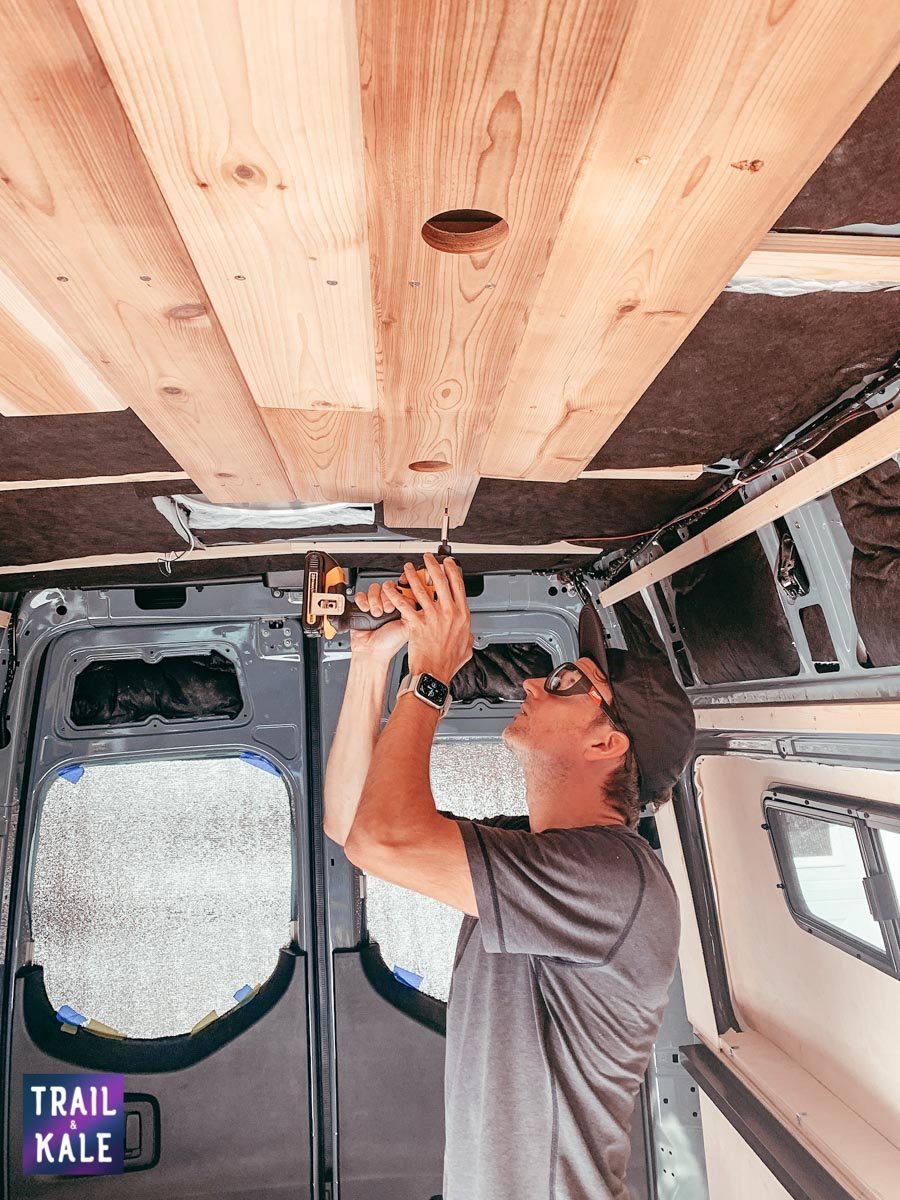
In addition to working out the length of the wood panels for the van's walls and ceiling, at this stage we also needed to cut around the ceiling fan space, and mark and drill the holes in the ceiling panels where our low-profile LED spotlights will get installed. This meant making a decision on where to locate the spotlights, and how many to install. It's a lot easier and cleaner to cut the ceiling light holes before you install the ceiling, than realizing at a later point that you need to go back and drill holes.
At this point we decided to invest in a miter saw, which allows you to make clean, straight cuts in wood (and other materials) at angles of 90 degrees and less, which is a much quicker and neater method for cutting tongue-and-groove and other wood planks than trying to do it all with our existing saw - a cordless jigsaw. Even if you think you're cutting a straight line with a jigsaw, it is unlikely to be as good or consistent as a clean cut with a miter saw, and that shows when you're butting two pieces of wood planks together.
Work out how to attach the tongue and groove planks to the van's walls and ceiling
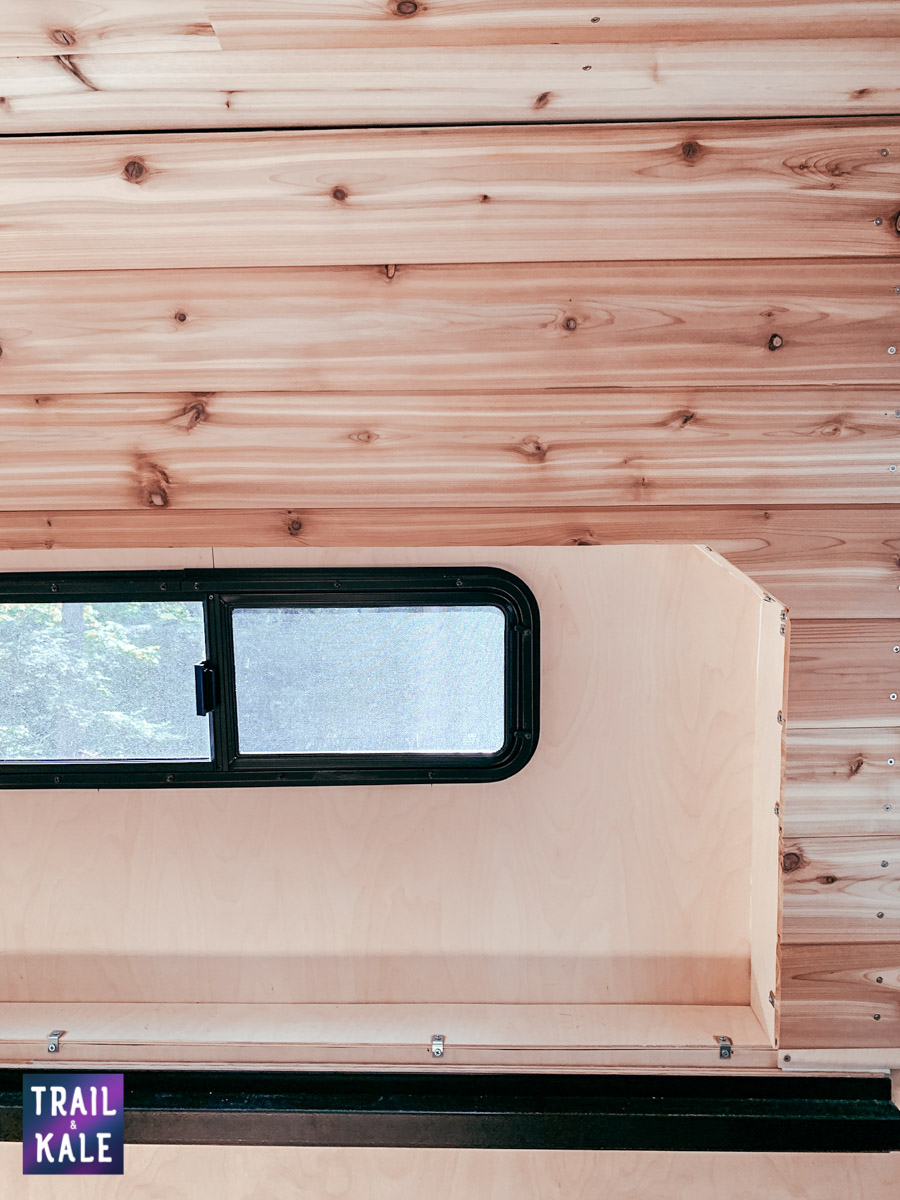
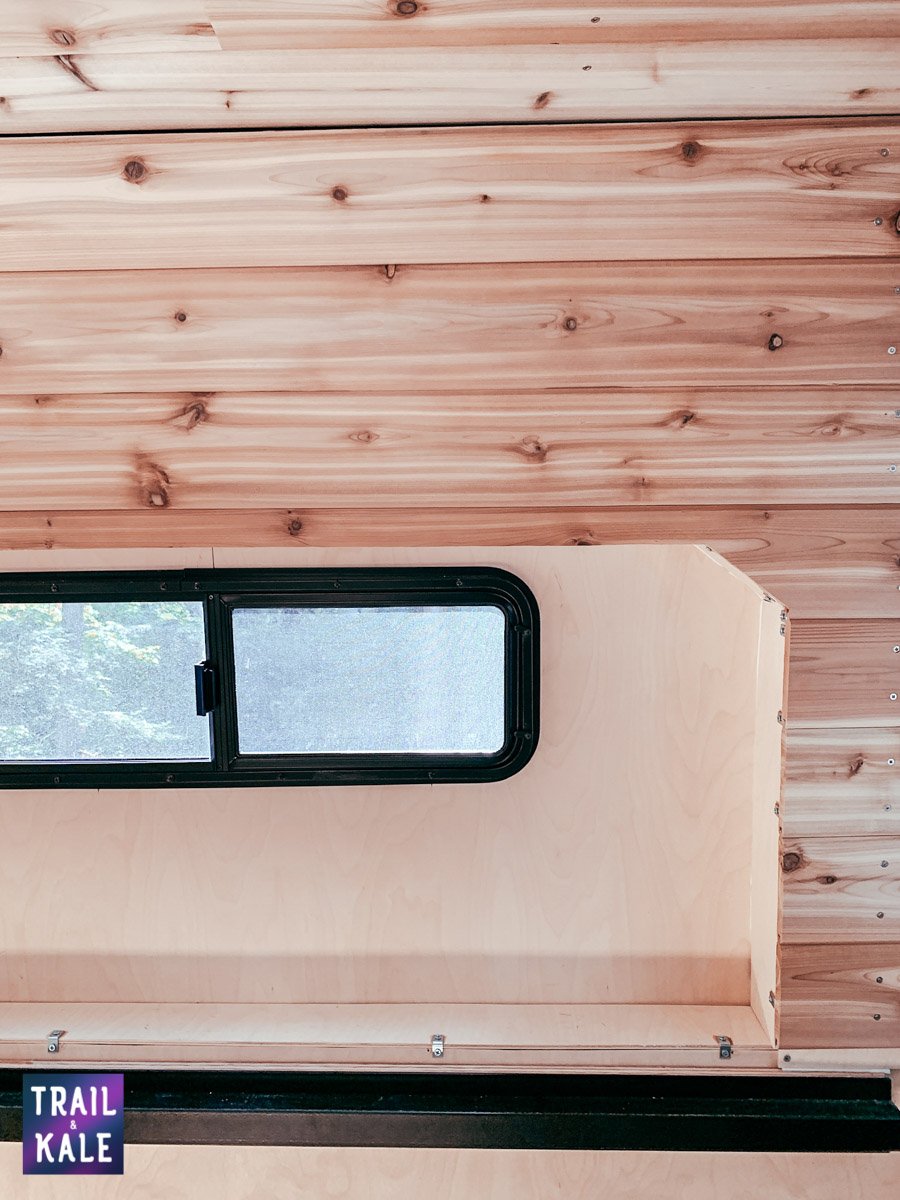
The next consideration is how to attach the wood panels to the van's walls and ceiling. We decided to attach furring strips to the van's walls and ceiling, and use them to attach our tongue-and-groove to. We attached the tongue-and-groove to them using self-drilling stainless steel wood screws.
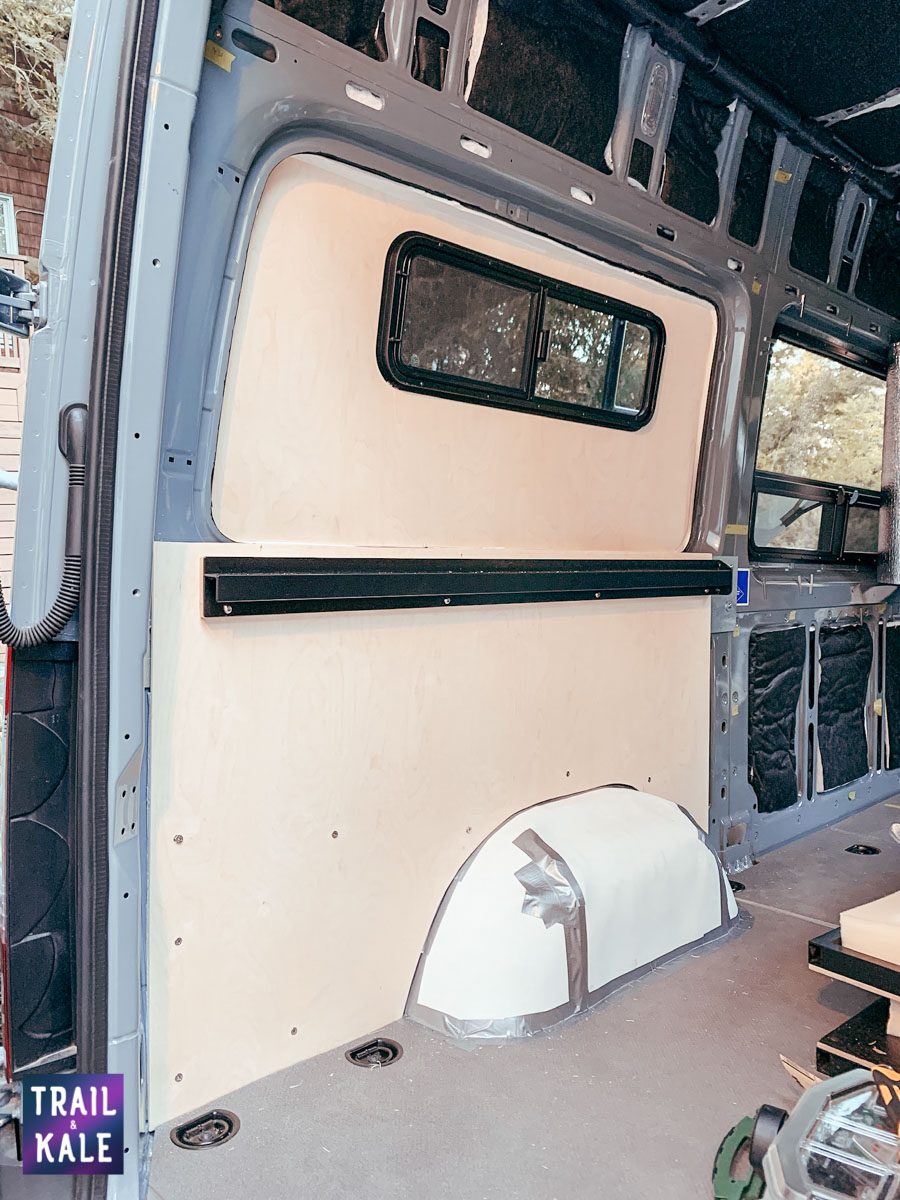
As an interim step, to allow us more fixing points and strength on the walls, as well as reducing the potential for the tongue-and-groove to flex and squeak when we drive, we attached 6mm baltic birch plywood planks to the walls before attaching the tongue and groove through the plywood into the furring strips.
We also used the same birch plywood on the lower walls which were to become the walls in the van's 'garage' area, as that area will not be finished with the tongue-and-groove.
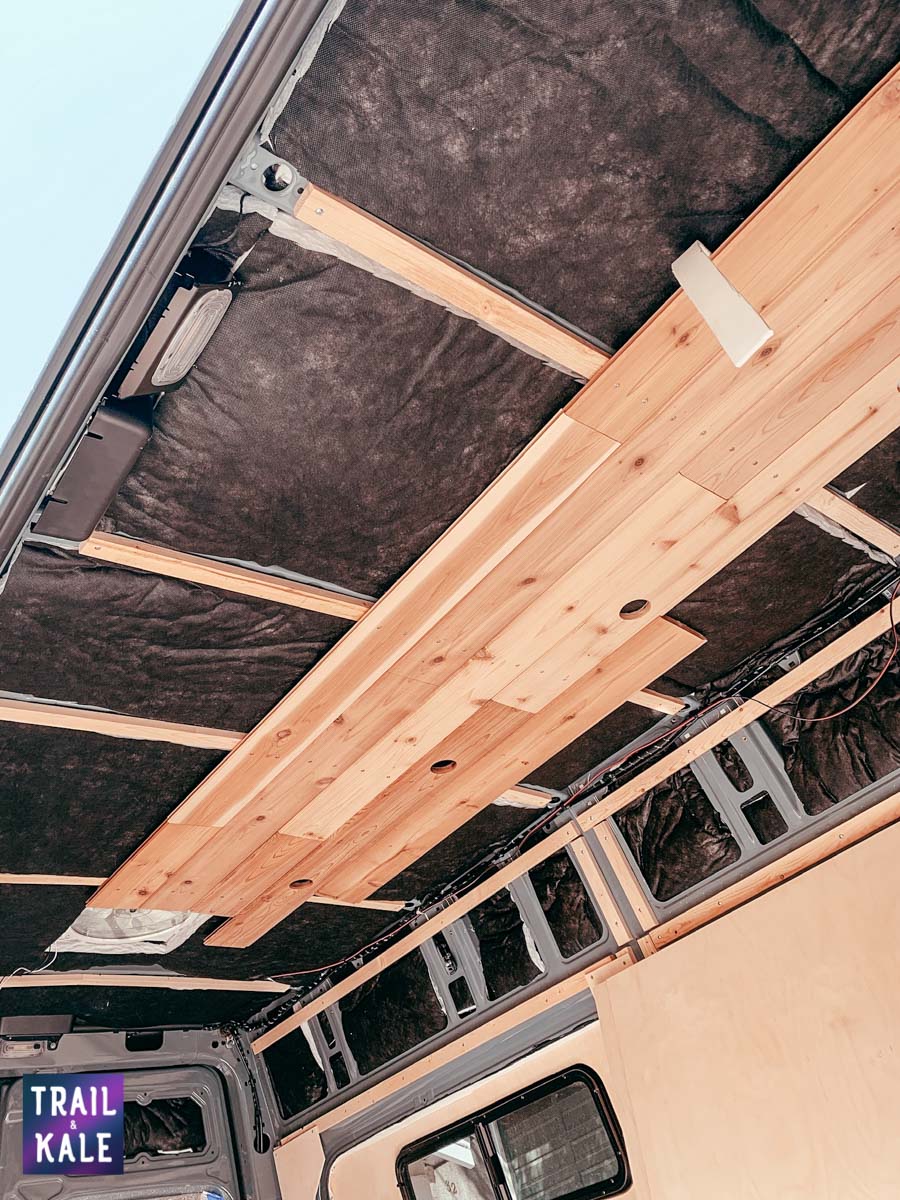
Decide how long the ceiling planks need to be
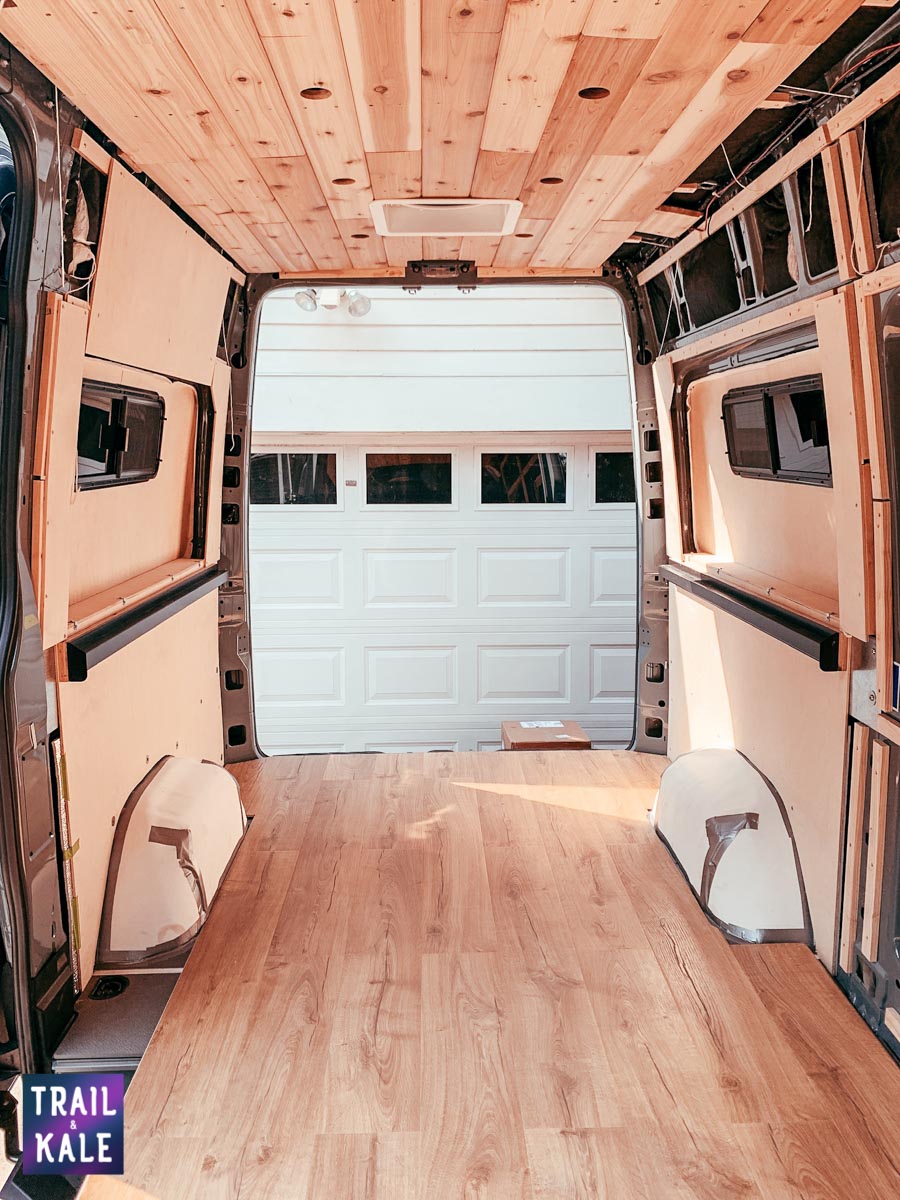
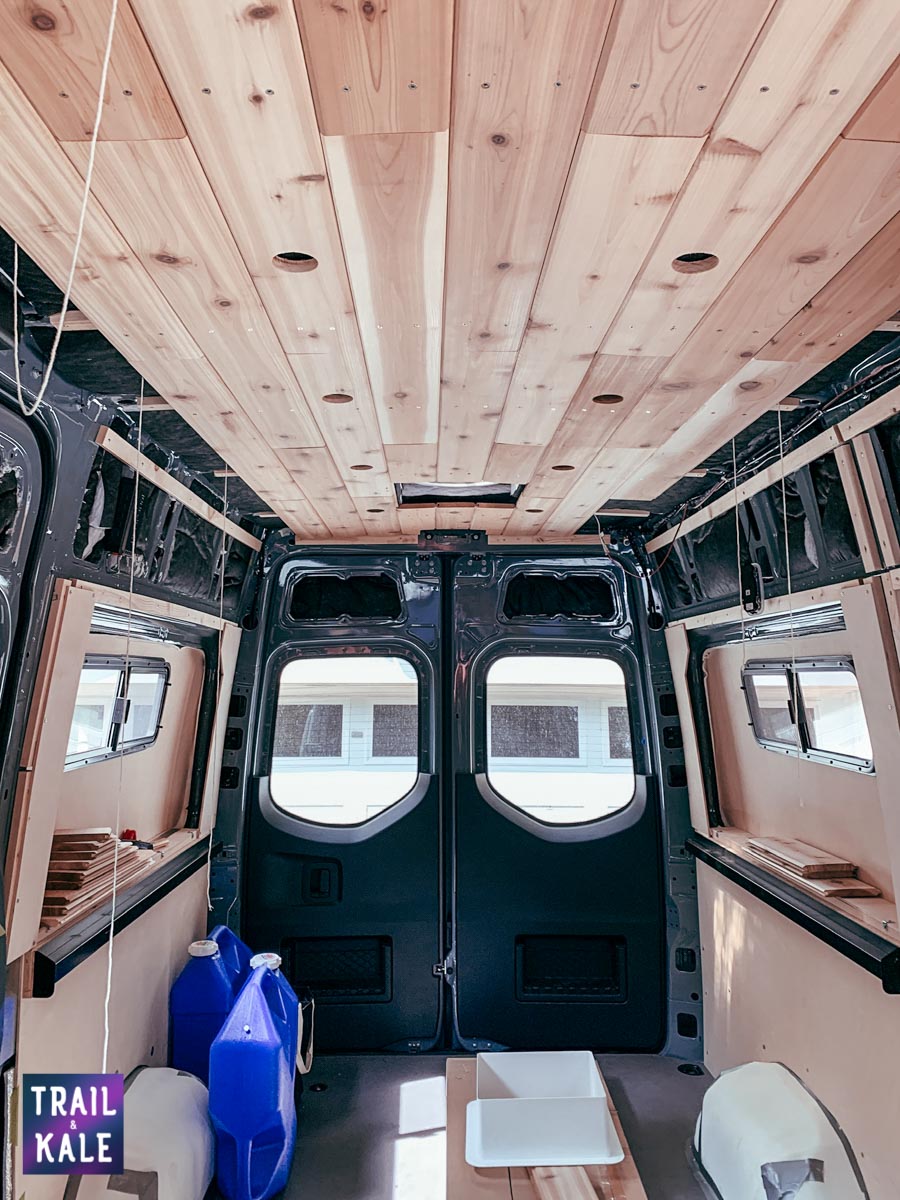
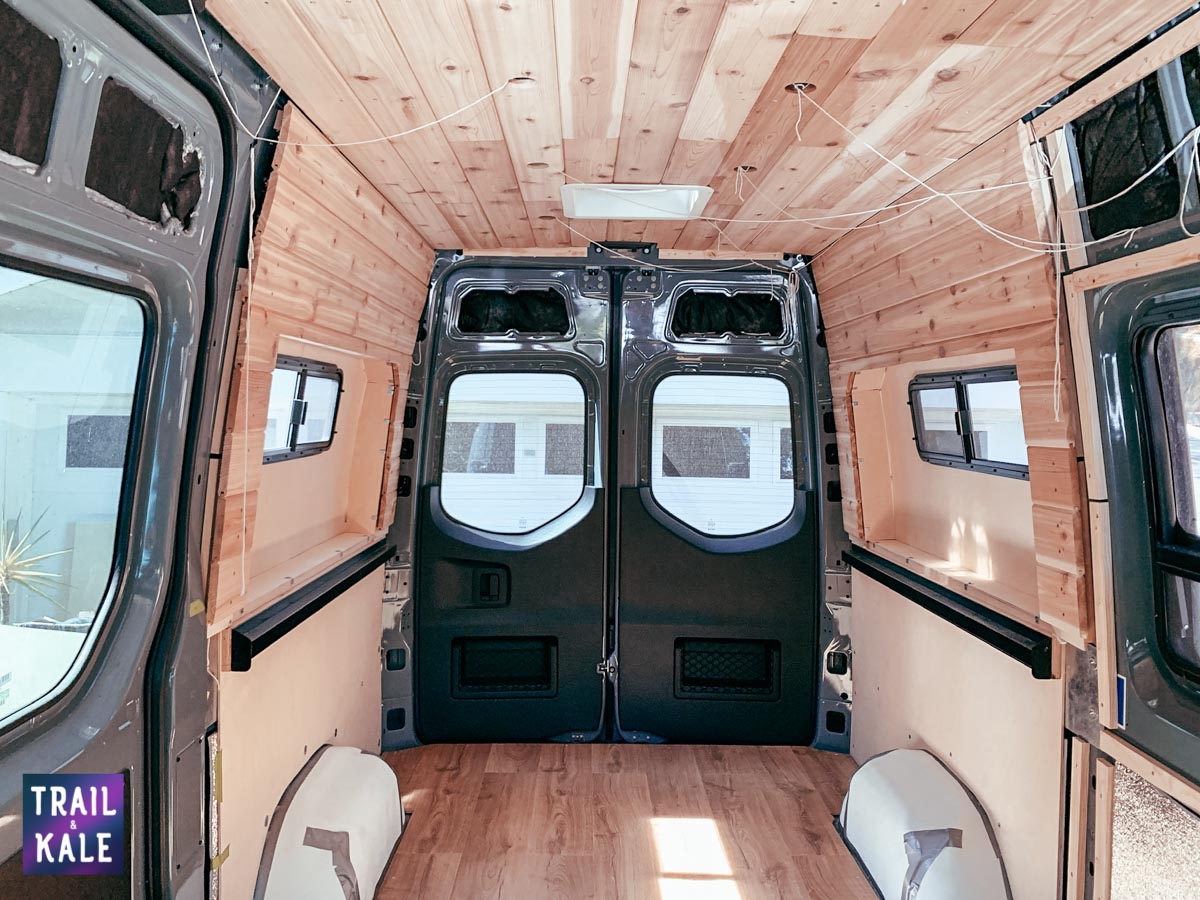
We decided to cut the ceiling planks so we had each row overlapping by 50% of the rows next to it, so we had two attachment points on the ceiling for most of the planks except the smaller ones at either end of the van.
The overlapping of the wood panels gives our ceiling a rustic feel, without being continuous planks from front-to-back and without being entirely random.
Work out the order to install the planks
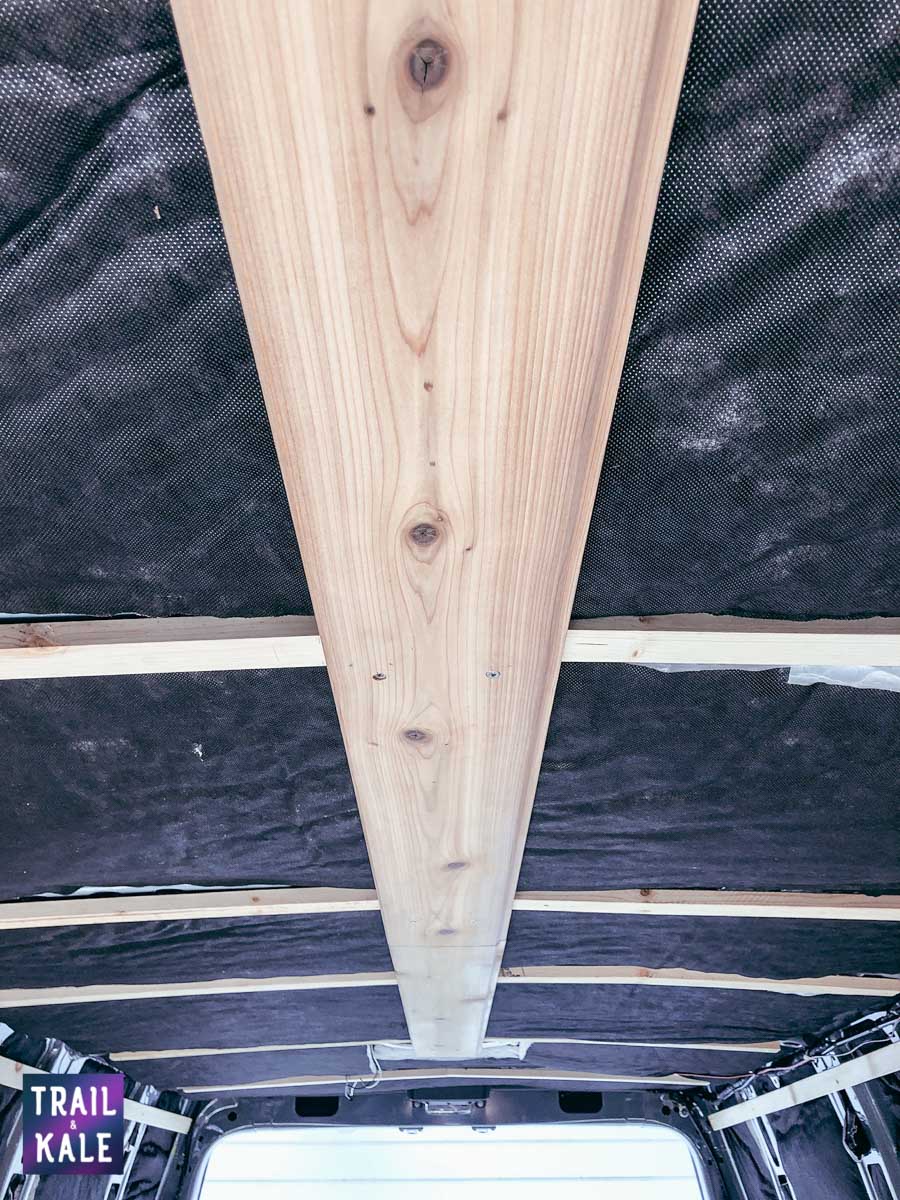
A van is not a perfect square, the walls and ceiling curve and the angles of the curves change between the front, middle and rear of the van!
For the ceiling, it is really important to know where the center of the van is, and start with the plank(s) in the center - ensuring they're absolutely straight from front-to-back. If they are not straight, then the variance will be really noticeable when you get to the edges of your van and realize you need to cut planks into triangular pieces to fit.
We were really pleased with how our ceiling and walls turned out. As you can see in the photos, the ceiling fitted nine planks across perfectly (1x6 inch tongue-and-groove), and our walls left less than 1/4 of an inch gap where they meet the ceiling. When we finish the van build we may install coving around the join to cover up that small gap.
Consider the quality of the tongue-and-groove planks
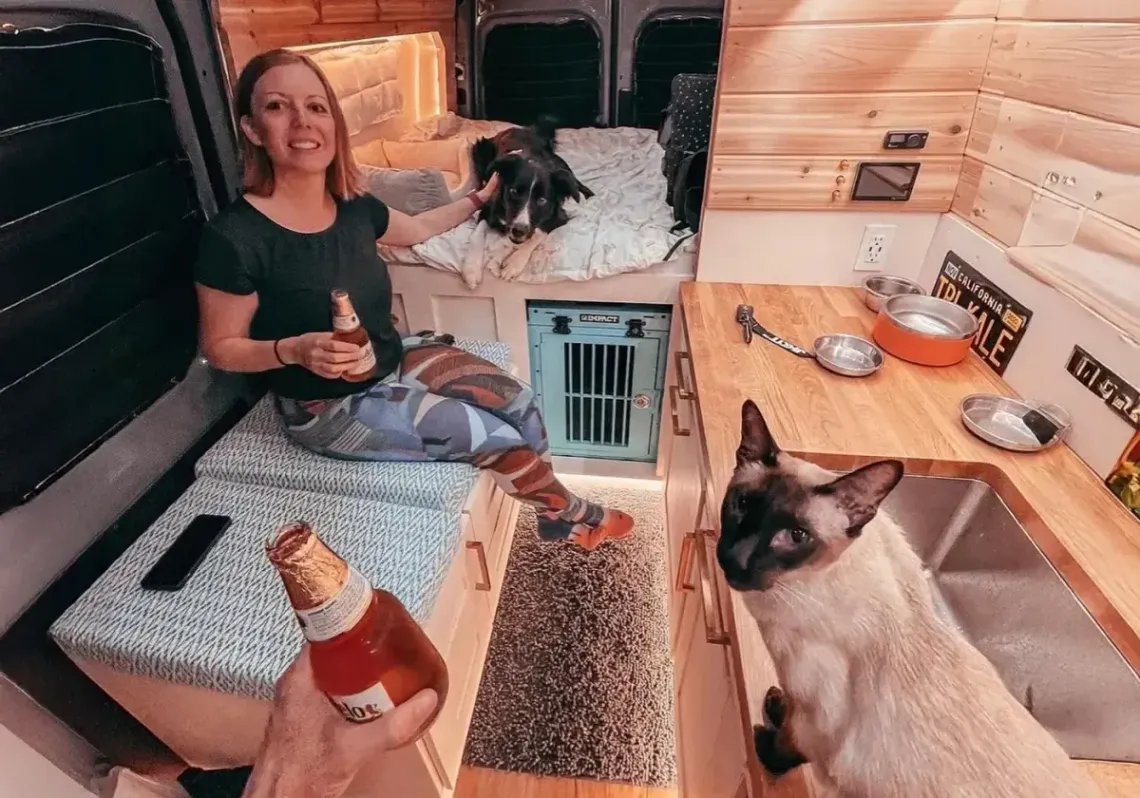
We opted to use Western Red Cedar tongue-and-groove in our van build. Cedar is stronger and lighter than pine, although more expensive. It gives the van a really nice cabin look, and the cedar smells amazing! That said, we will be painting at least our walls.
If you're planning on leaving the walls unpainted then I definitely recommend considering the investment in cedar planks.
We wanted to avoid splitting our planks when we installed them - as well as reducing the chance of them squeaking when the van is moving. This meant that some of the tongue-and-groove we bought was not cut straight enough at the mill to work for us, because those pieces were harder to fit to adjacent pieces, or they didn't work with following the curve of the van's walls.
The pieces of tongue-and-groove cedar that didn't work for the walls or ceiling ended up being used for our dividing walls at a later stage of our van build, which we built to be straight and therefore more forgiving when it comes to affixing slightly curved pieces of tongue-and-groove.
Installing laminate flooring in our Sprinter van
In this van build update we also installed wood laminate flooring in our van.
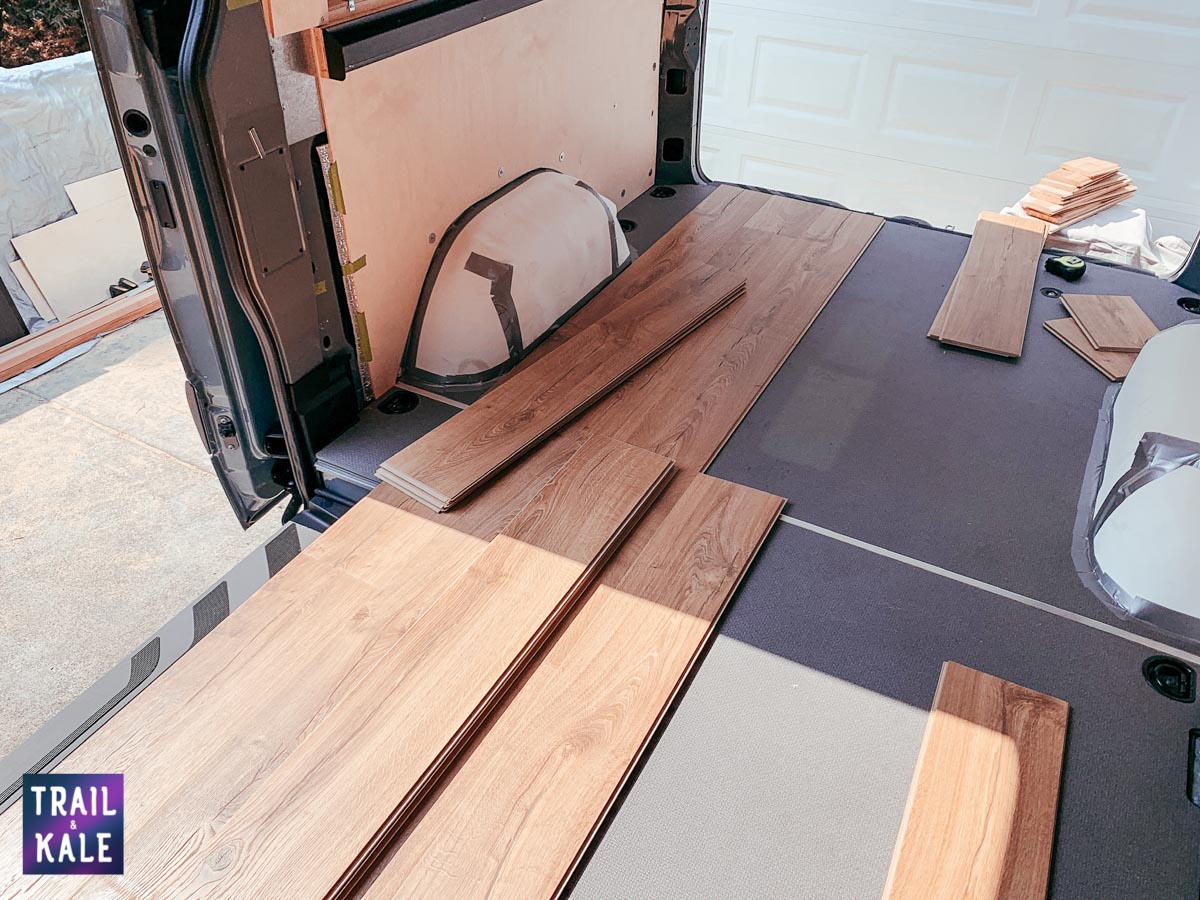
The wood laminate we used is scratch and waterproof, so it is well-suited to being installed in a campervan build. It is click-lock and took a just couple of hours to fit over our van's foam floor insulation and wood sub-floor.
For more on how we installed the insulation and sub-floor in our van, see our van build update part 3 video and blog post, in which we also cover the windows, ventilation, heating wall insulation and sound dampening that went into our van in the earlier stages of our conversion.
The laminate flooring was easy to cut with our miter saw to get the right lengths at either end of the van, and we used our jigsaw to cut out any non-straight lines to fit the flooring up to parts of the van such as the wheel wells, which are curved. We secured the floor through into the plywood (factory) subfloor using galvanized screws.
Installing wood paneling in our Sprinter van build - image gallery


Off-Grid Sprinter Van Build Next Steps
In our next van build update we'll share a ton of progress, including our Sprinter's kitchen, platform bed, chaise longue and hidden composting toilet!
Written by
Subscribe to our Newsletter
to discover the best gear, healthy foods, and life outdoors.


Member discussion